Using Postmark To Send Email Leads In Lead Prosper
Automated email delivery is a powerful way to instantly follow up with leads, confirm submissions, or send real-time notifications — all without manual effort. By connecting your Lead Prosper campaigns with Postmark, you can deliver professional, branded emails through Postmark’s reliable API using dynamic data from each lead. This guide will walk you through everything you need — from setting up your Postmark account and creating email templates to configuring the API inside Lead Prosper and testing your first send.
Table of Contents
- Set up your Postmark account and approved sending domain
- Create a reusable email template with dynamic fields
- Configure a Postmark API call inside Lead Prosper
- Map your API response correctly
- Test and verify your emails
Step 1: Set Up Your Postmark Account
Before you begin, make sure you have:
- A Postmark production account
- A verified domain or approved sender signature
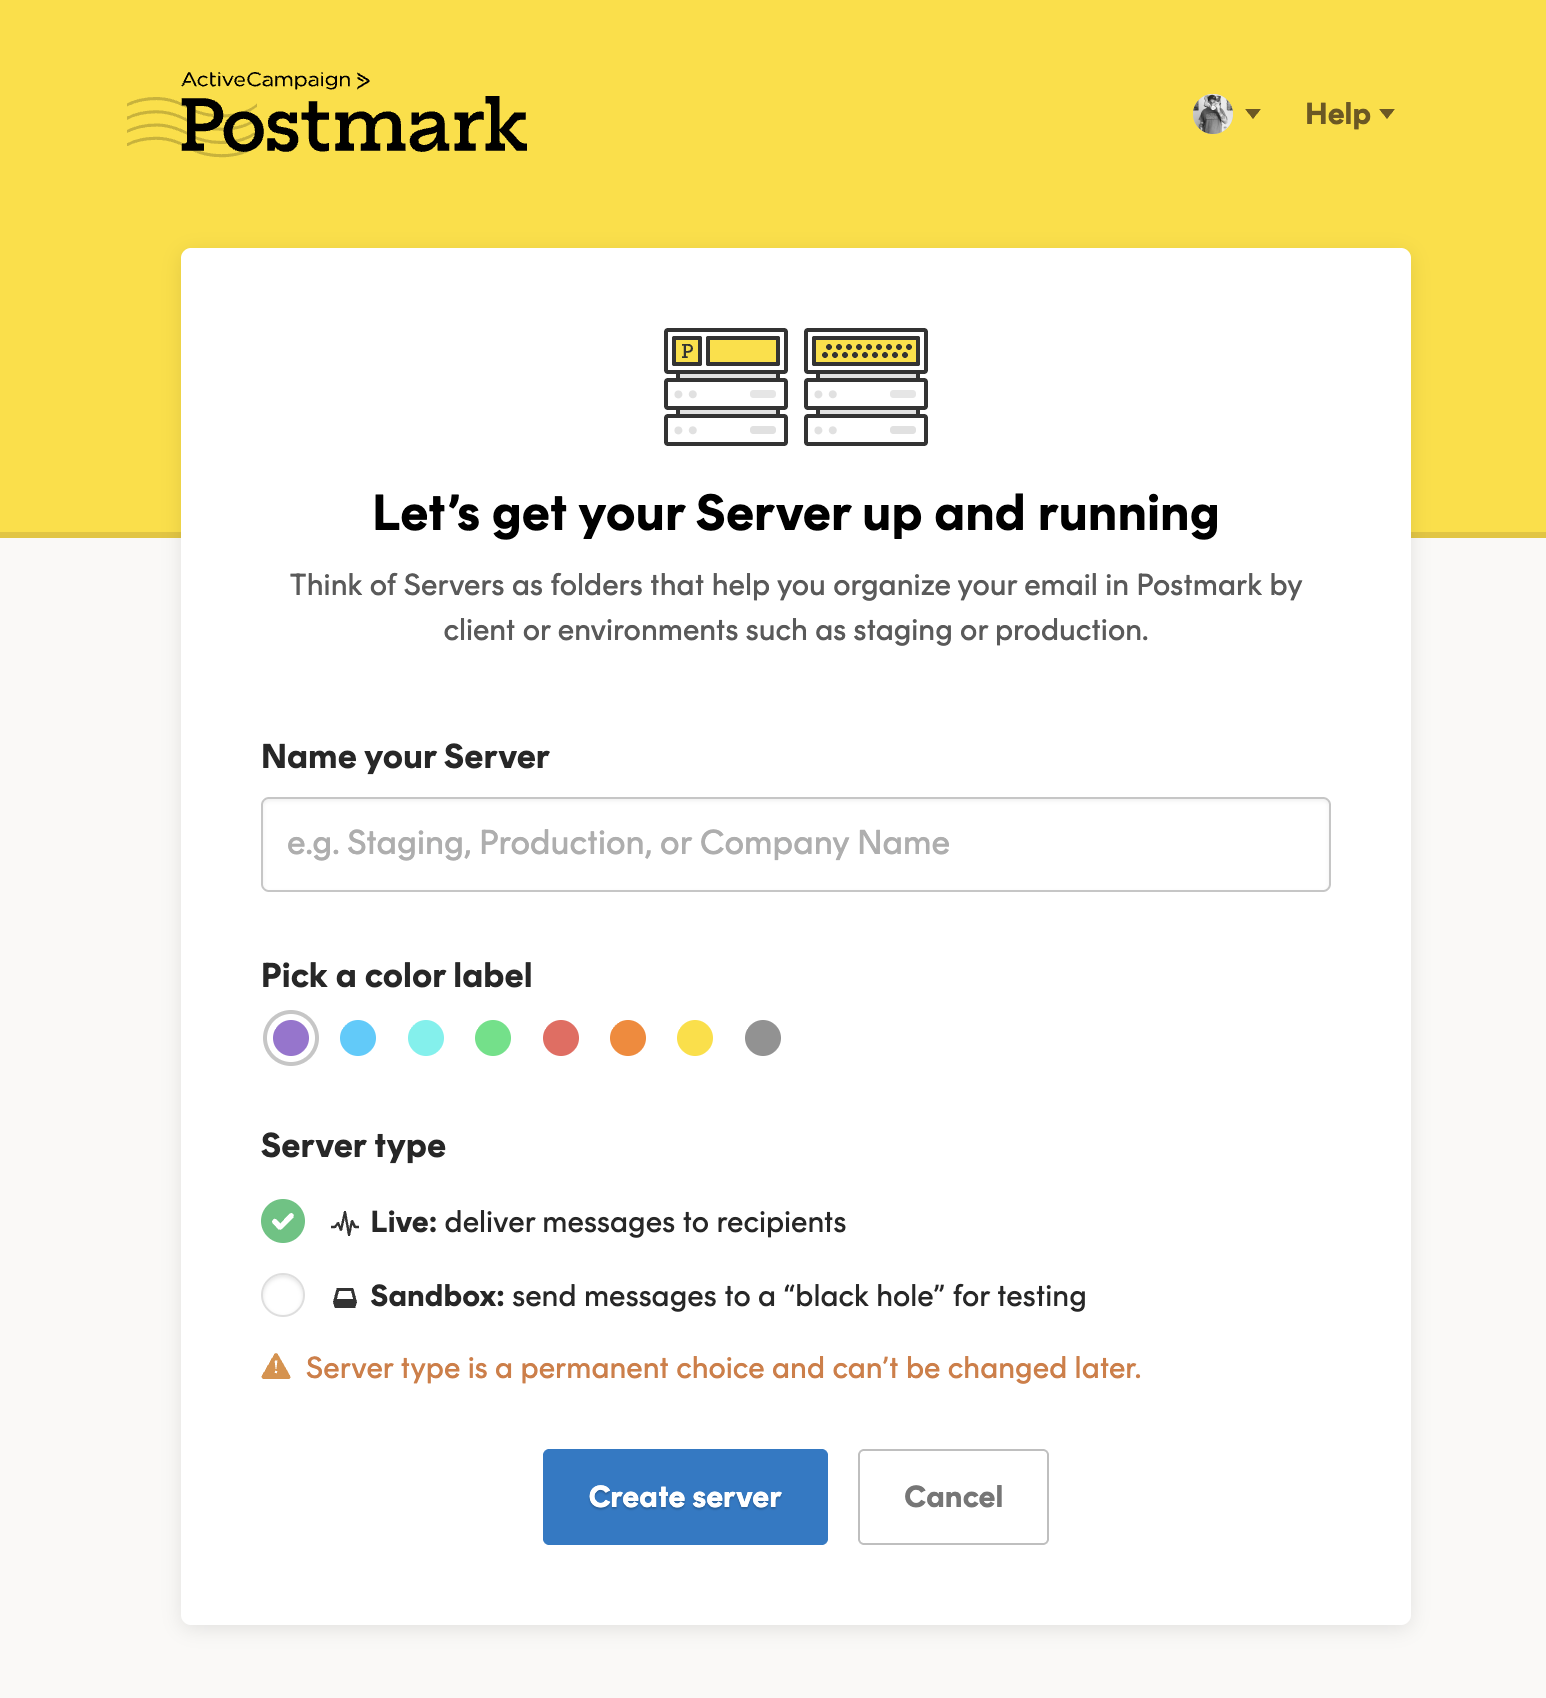
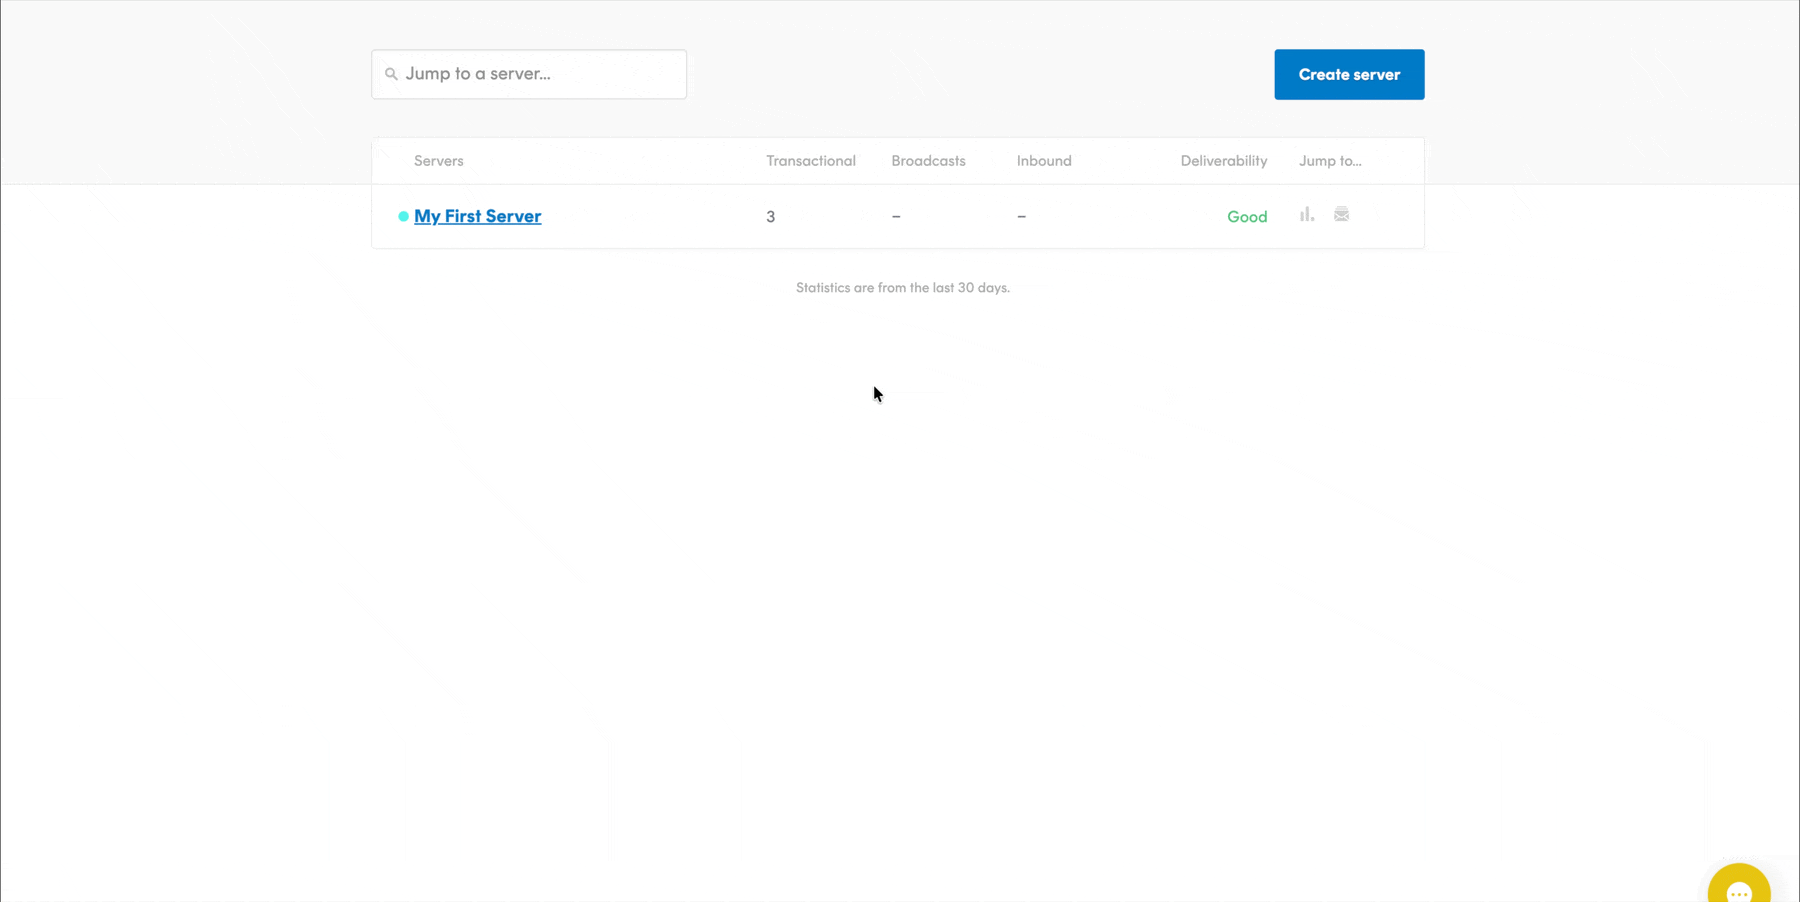
1. Create or Open a Server
- Log in to Postmark.
-
Click Servers → Add Server (or open an existing one).
A Server in Postmark acts like a folder to organize emails by client or environment (e.g., “staging”, “production”).
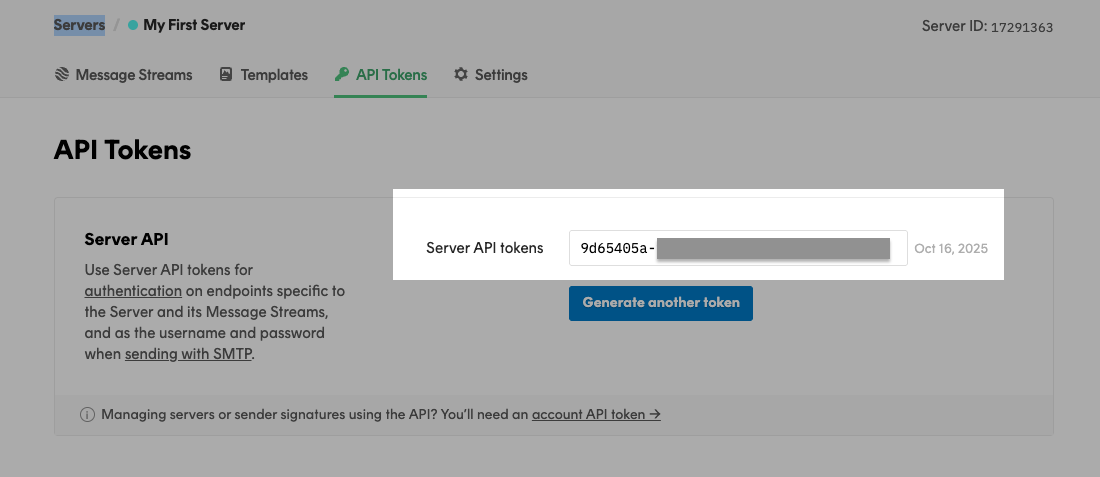
2. Get Your Server API Token
- In your Server, go to API Tokens.
-
Copy the value under Server API Token.
You’ll use this later for the header
X-Postmark-Server-Token.
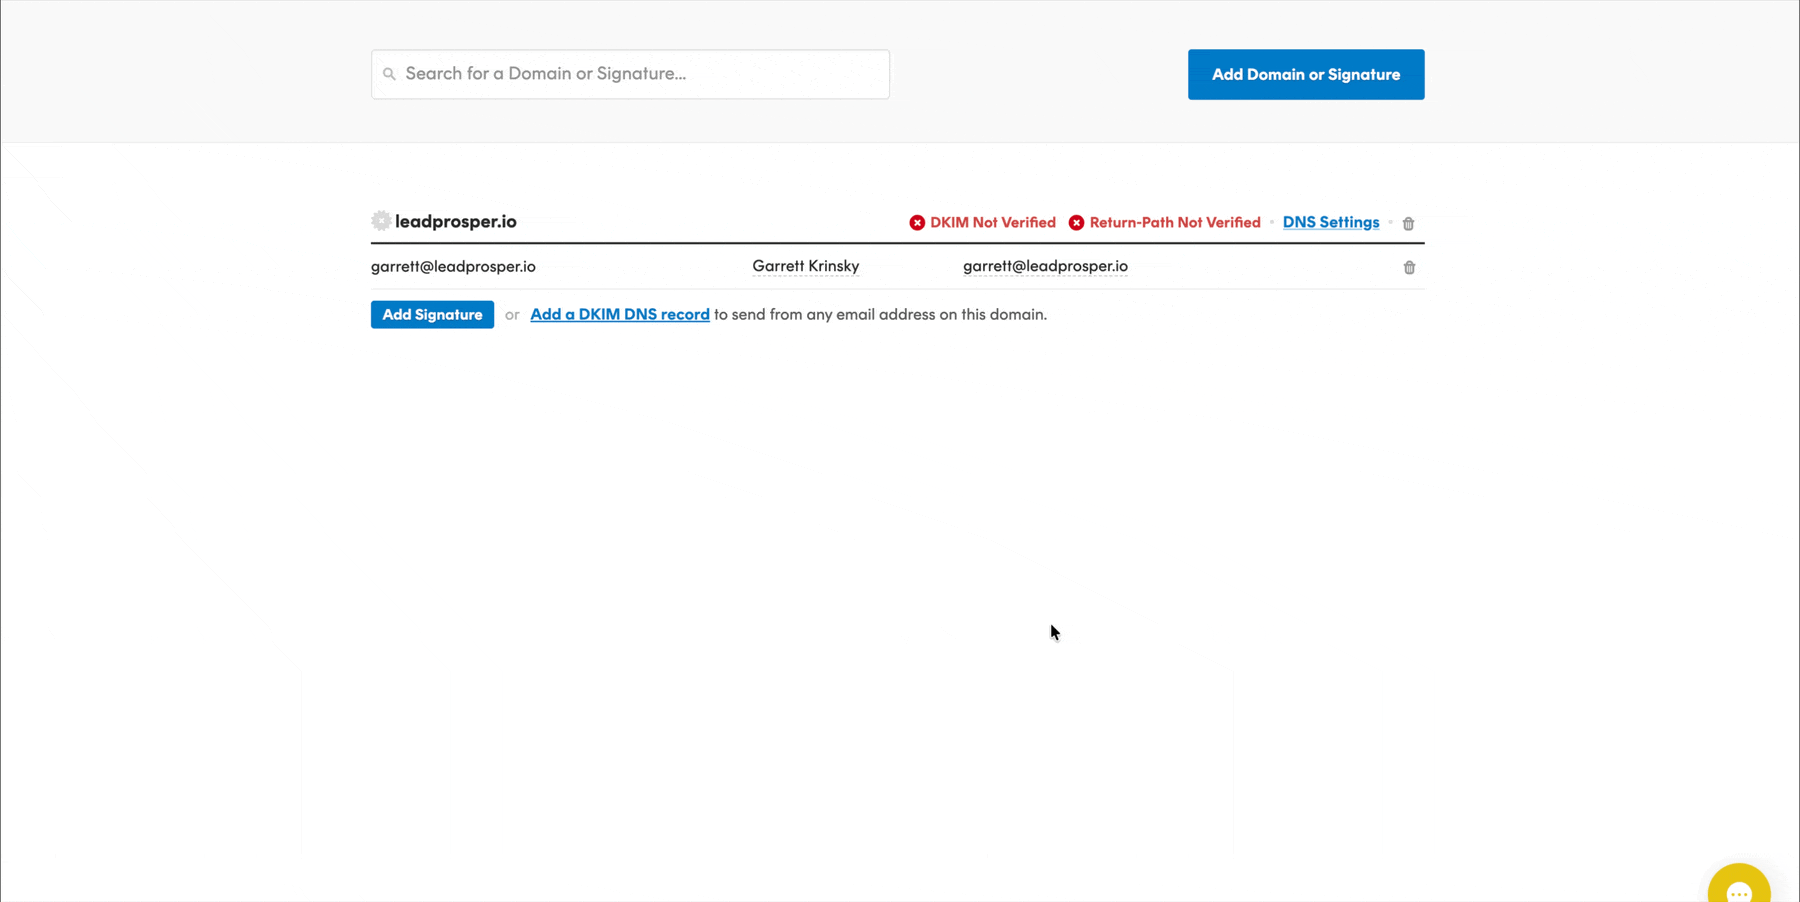
3. Add a Verified Sender
- You have two ways to set up a sender identity:
| Option | Description |
|---|---|
| Add Domain | Send from any address on that domain. |
| Add Sender Signature | Send from one specific address (e.g., no-reply@yourdomain.com ). |
Additional Resource:
Step 2: Create Your Postmark Template
Next, you’ll design the email that Postmark will send to your leads or customers.
1. Add a New Template
- Go to Templates → Add Template within your Server.
2. Choose a Starting Point
- You can use one of Postmark’s Starter Templates, or
- Design your own from scratch.
3. Use Mustachio Variables for Dynamic Data
- Postmark templates use Mustachio syntax for placeholders, like
{{first_name}}or{{cta_url}}. - These variables will be filled with live data from your Lead Prosper campaign.
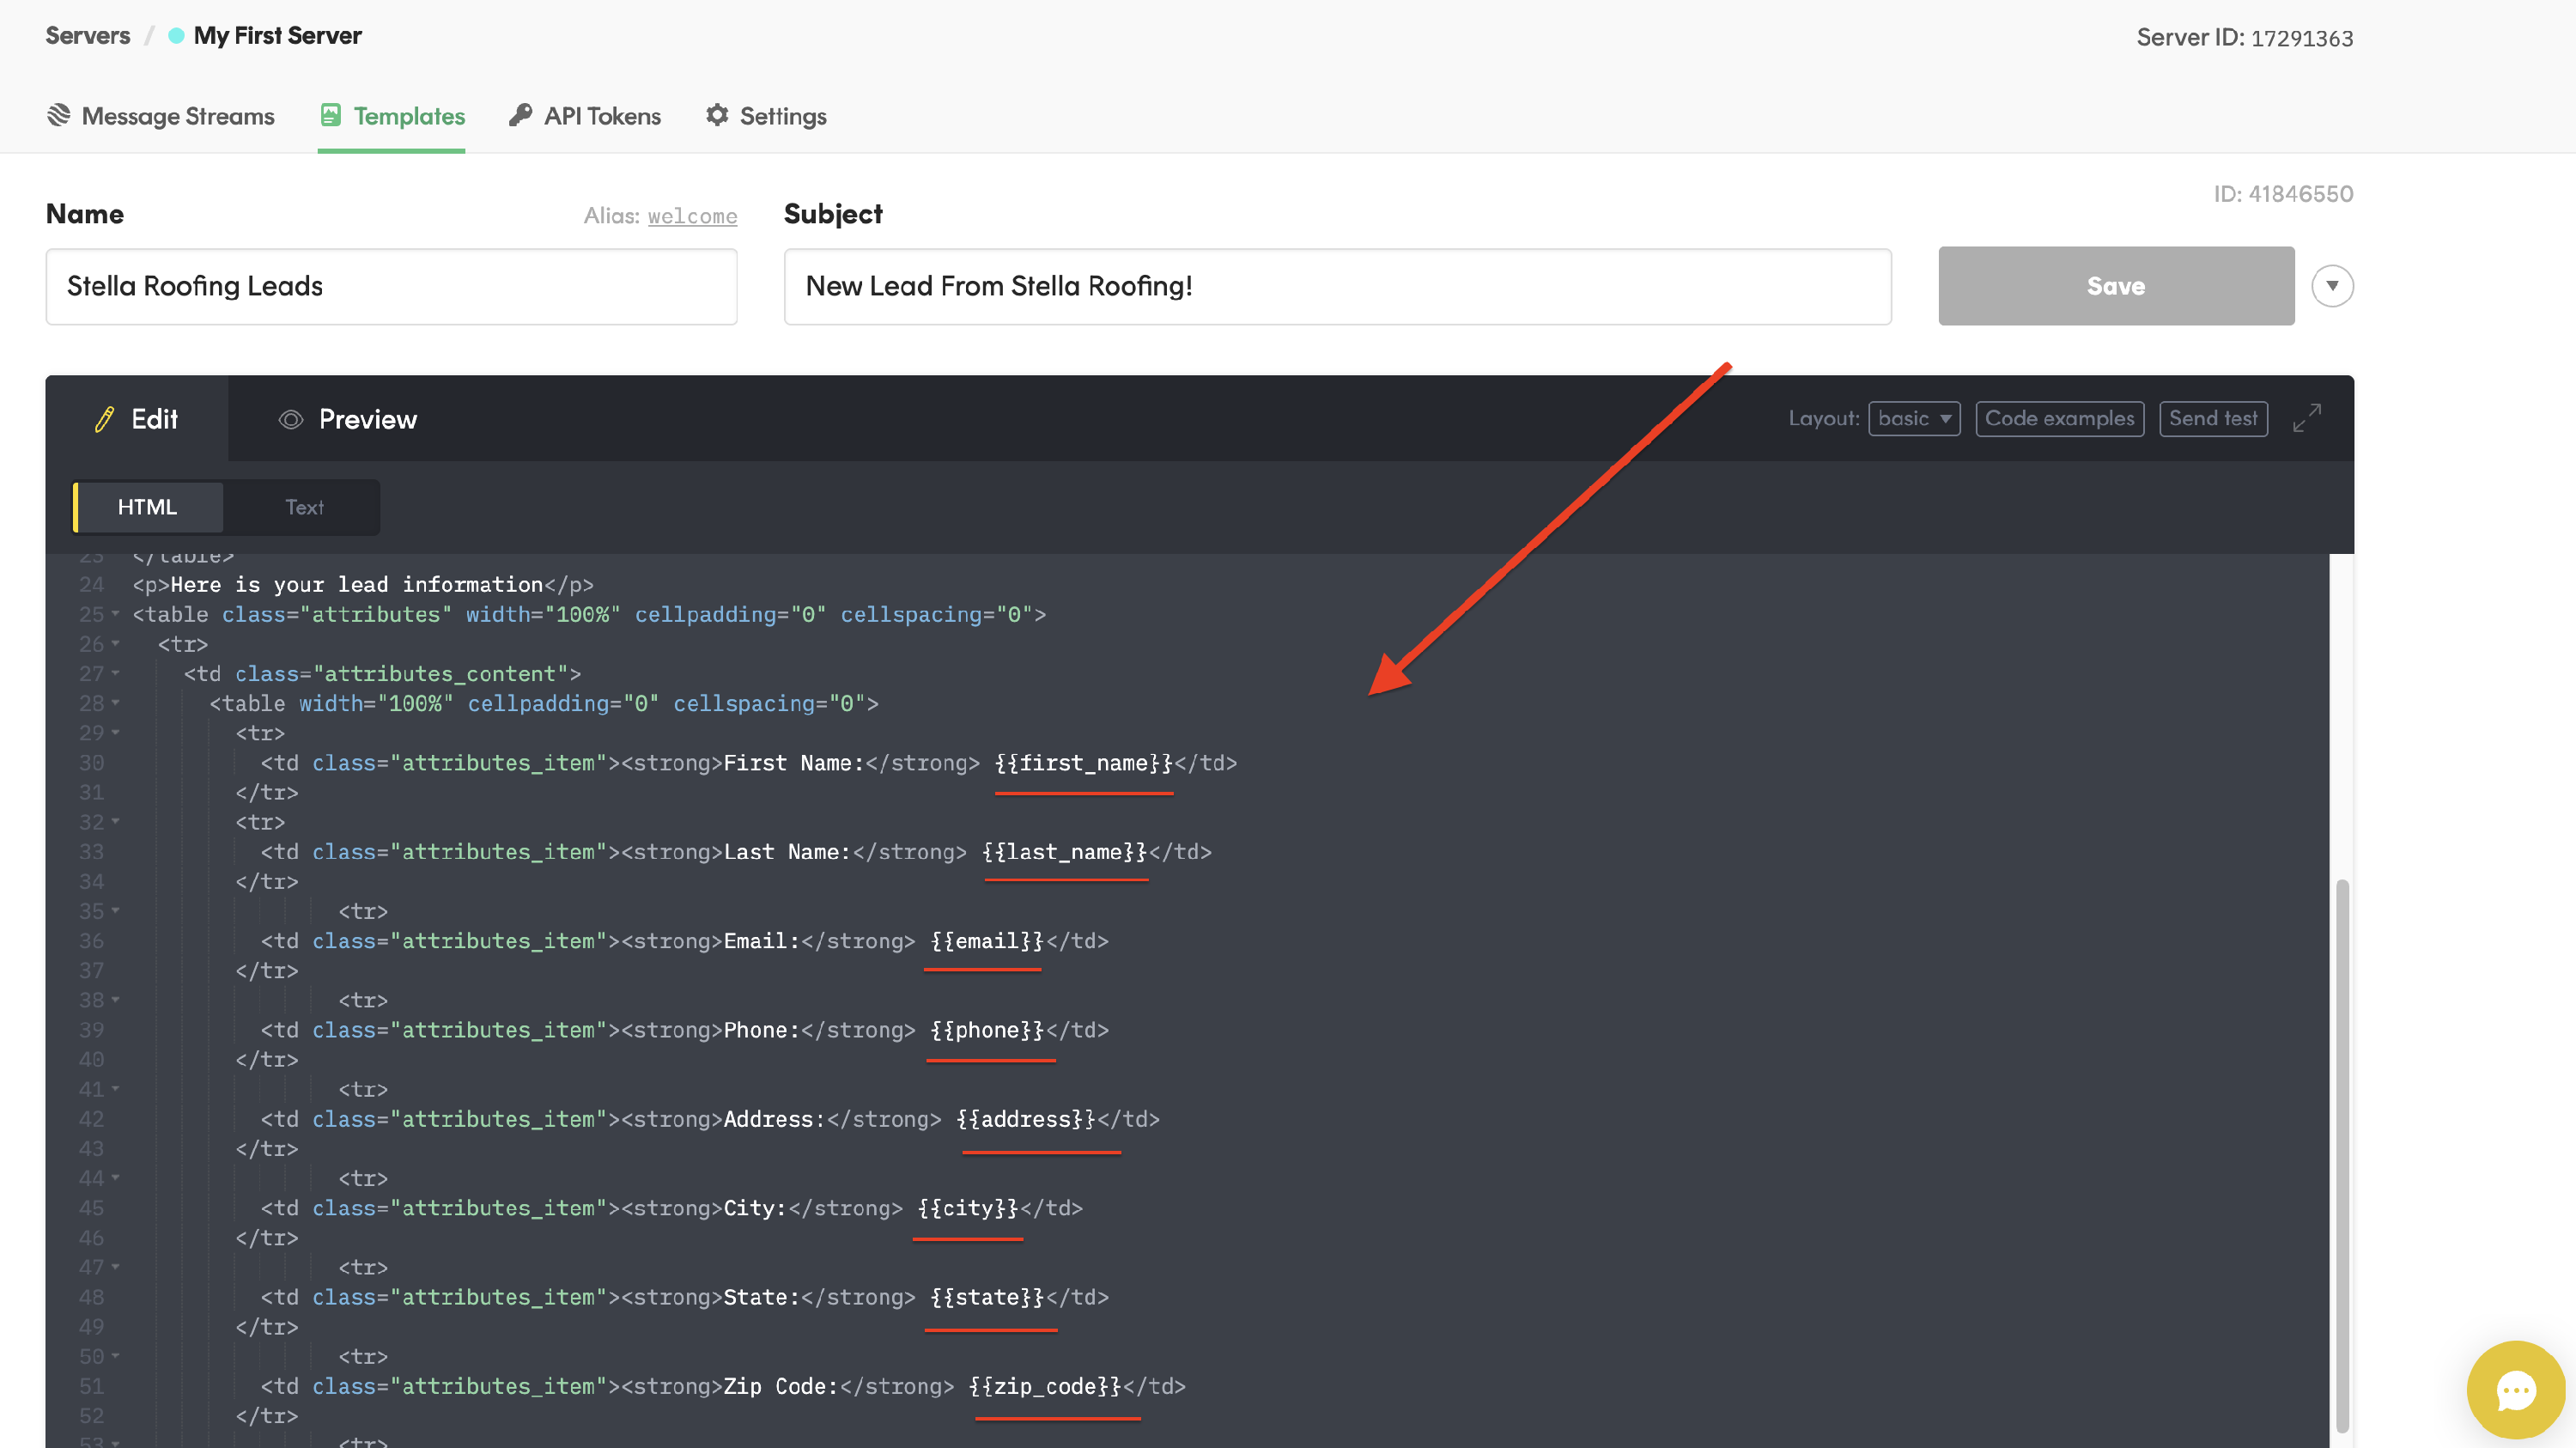
4. Copy Your Template ID
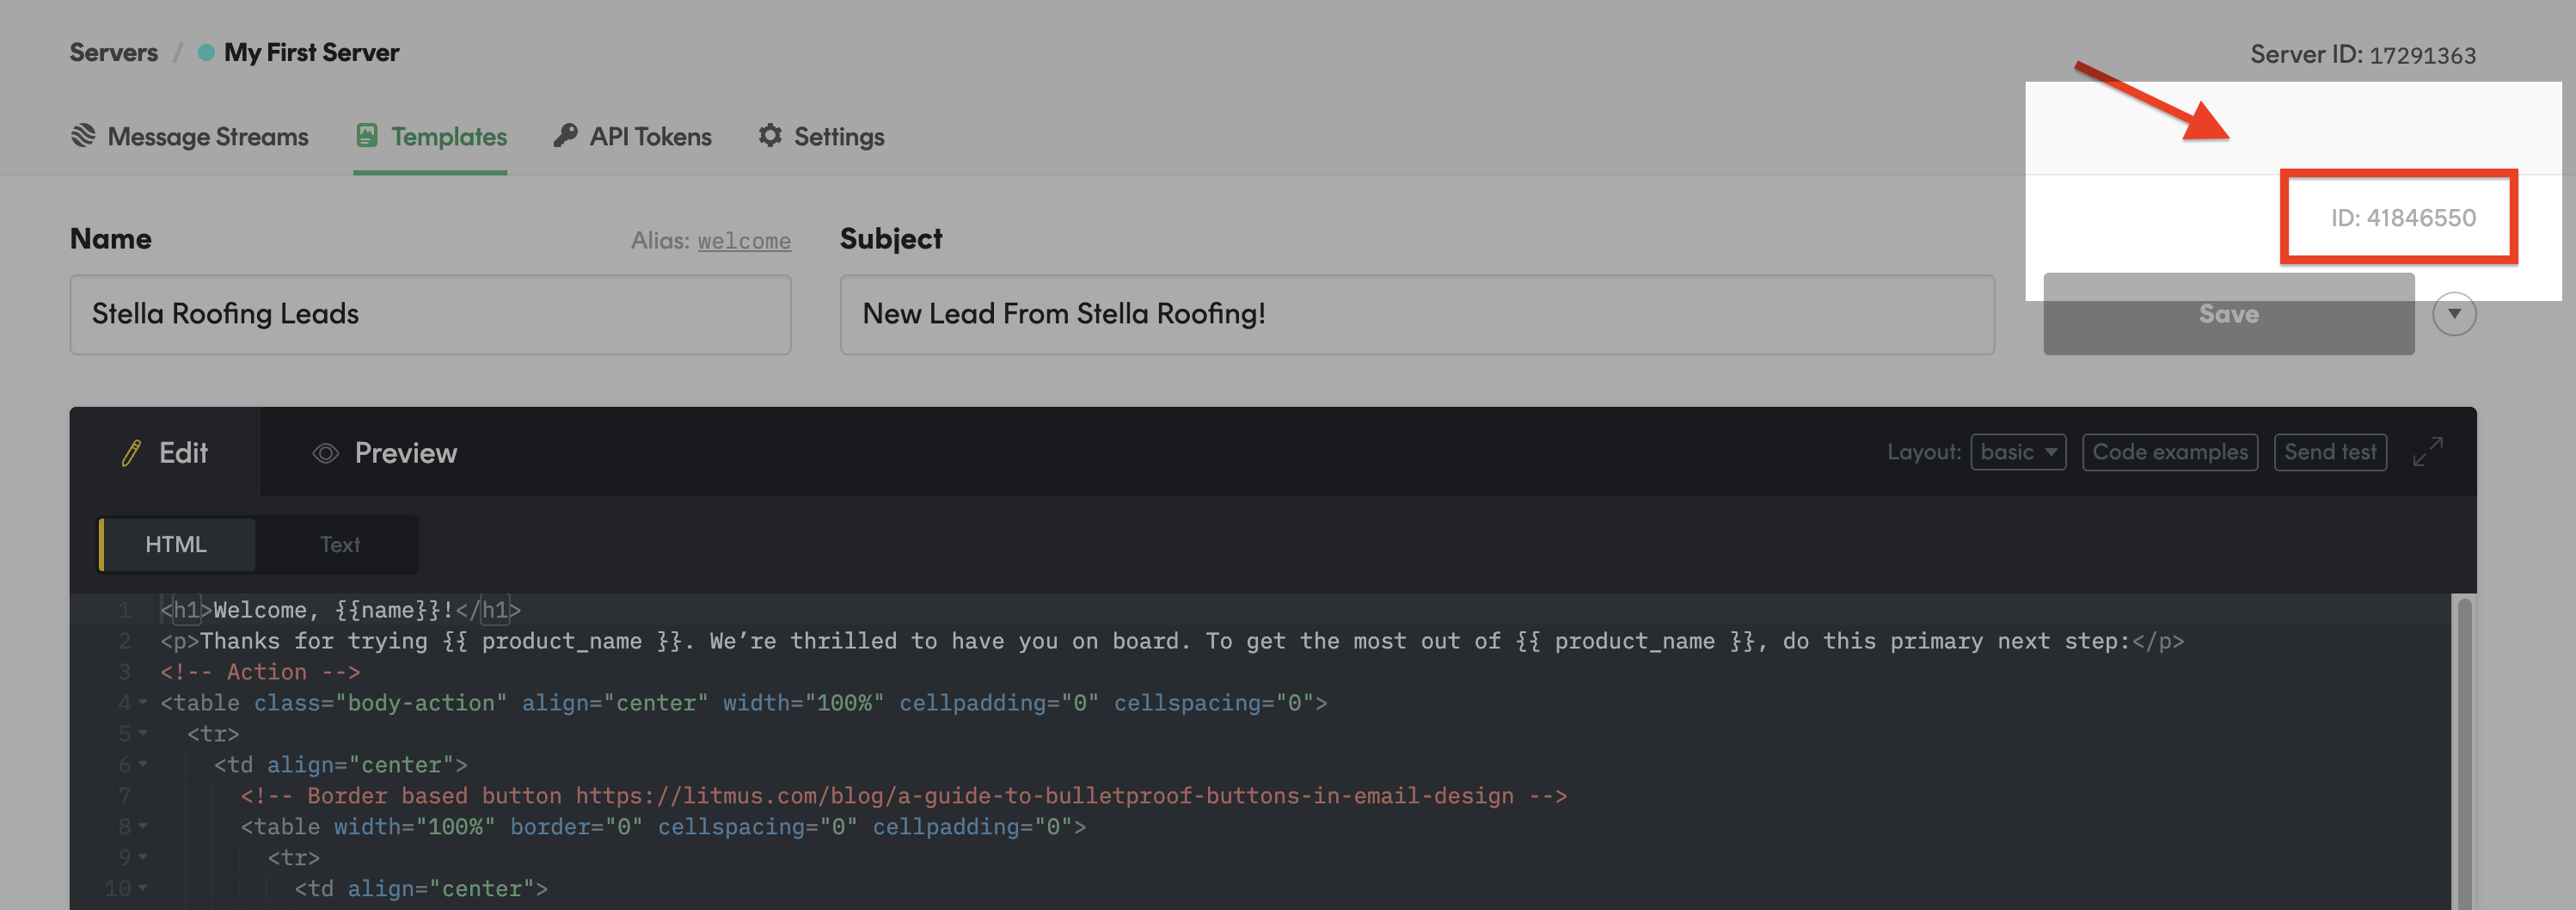
- After you save your template, look in the top-right corner for the Template ID — you’ll need this in the next step.
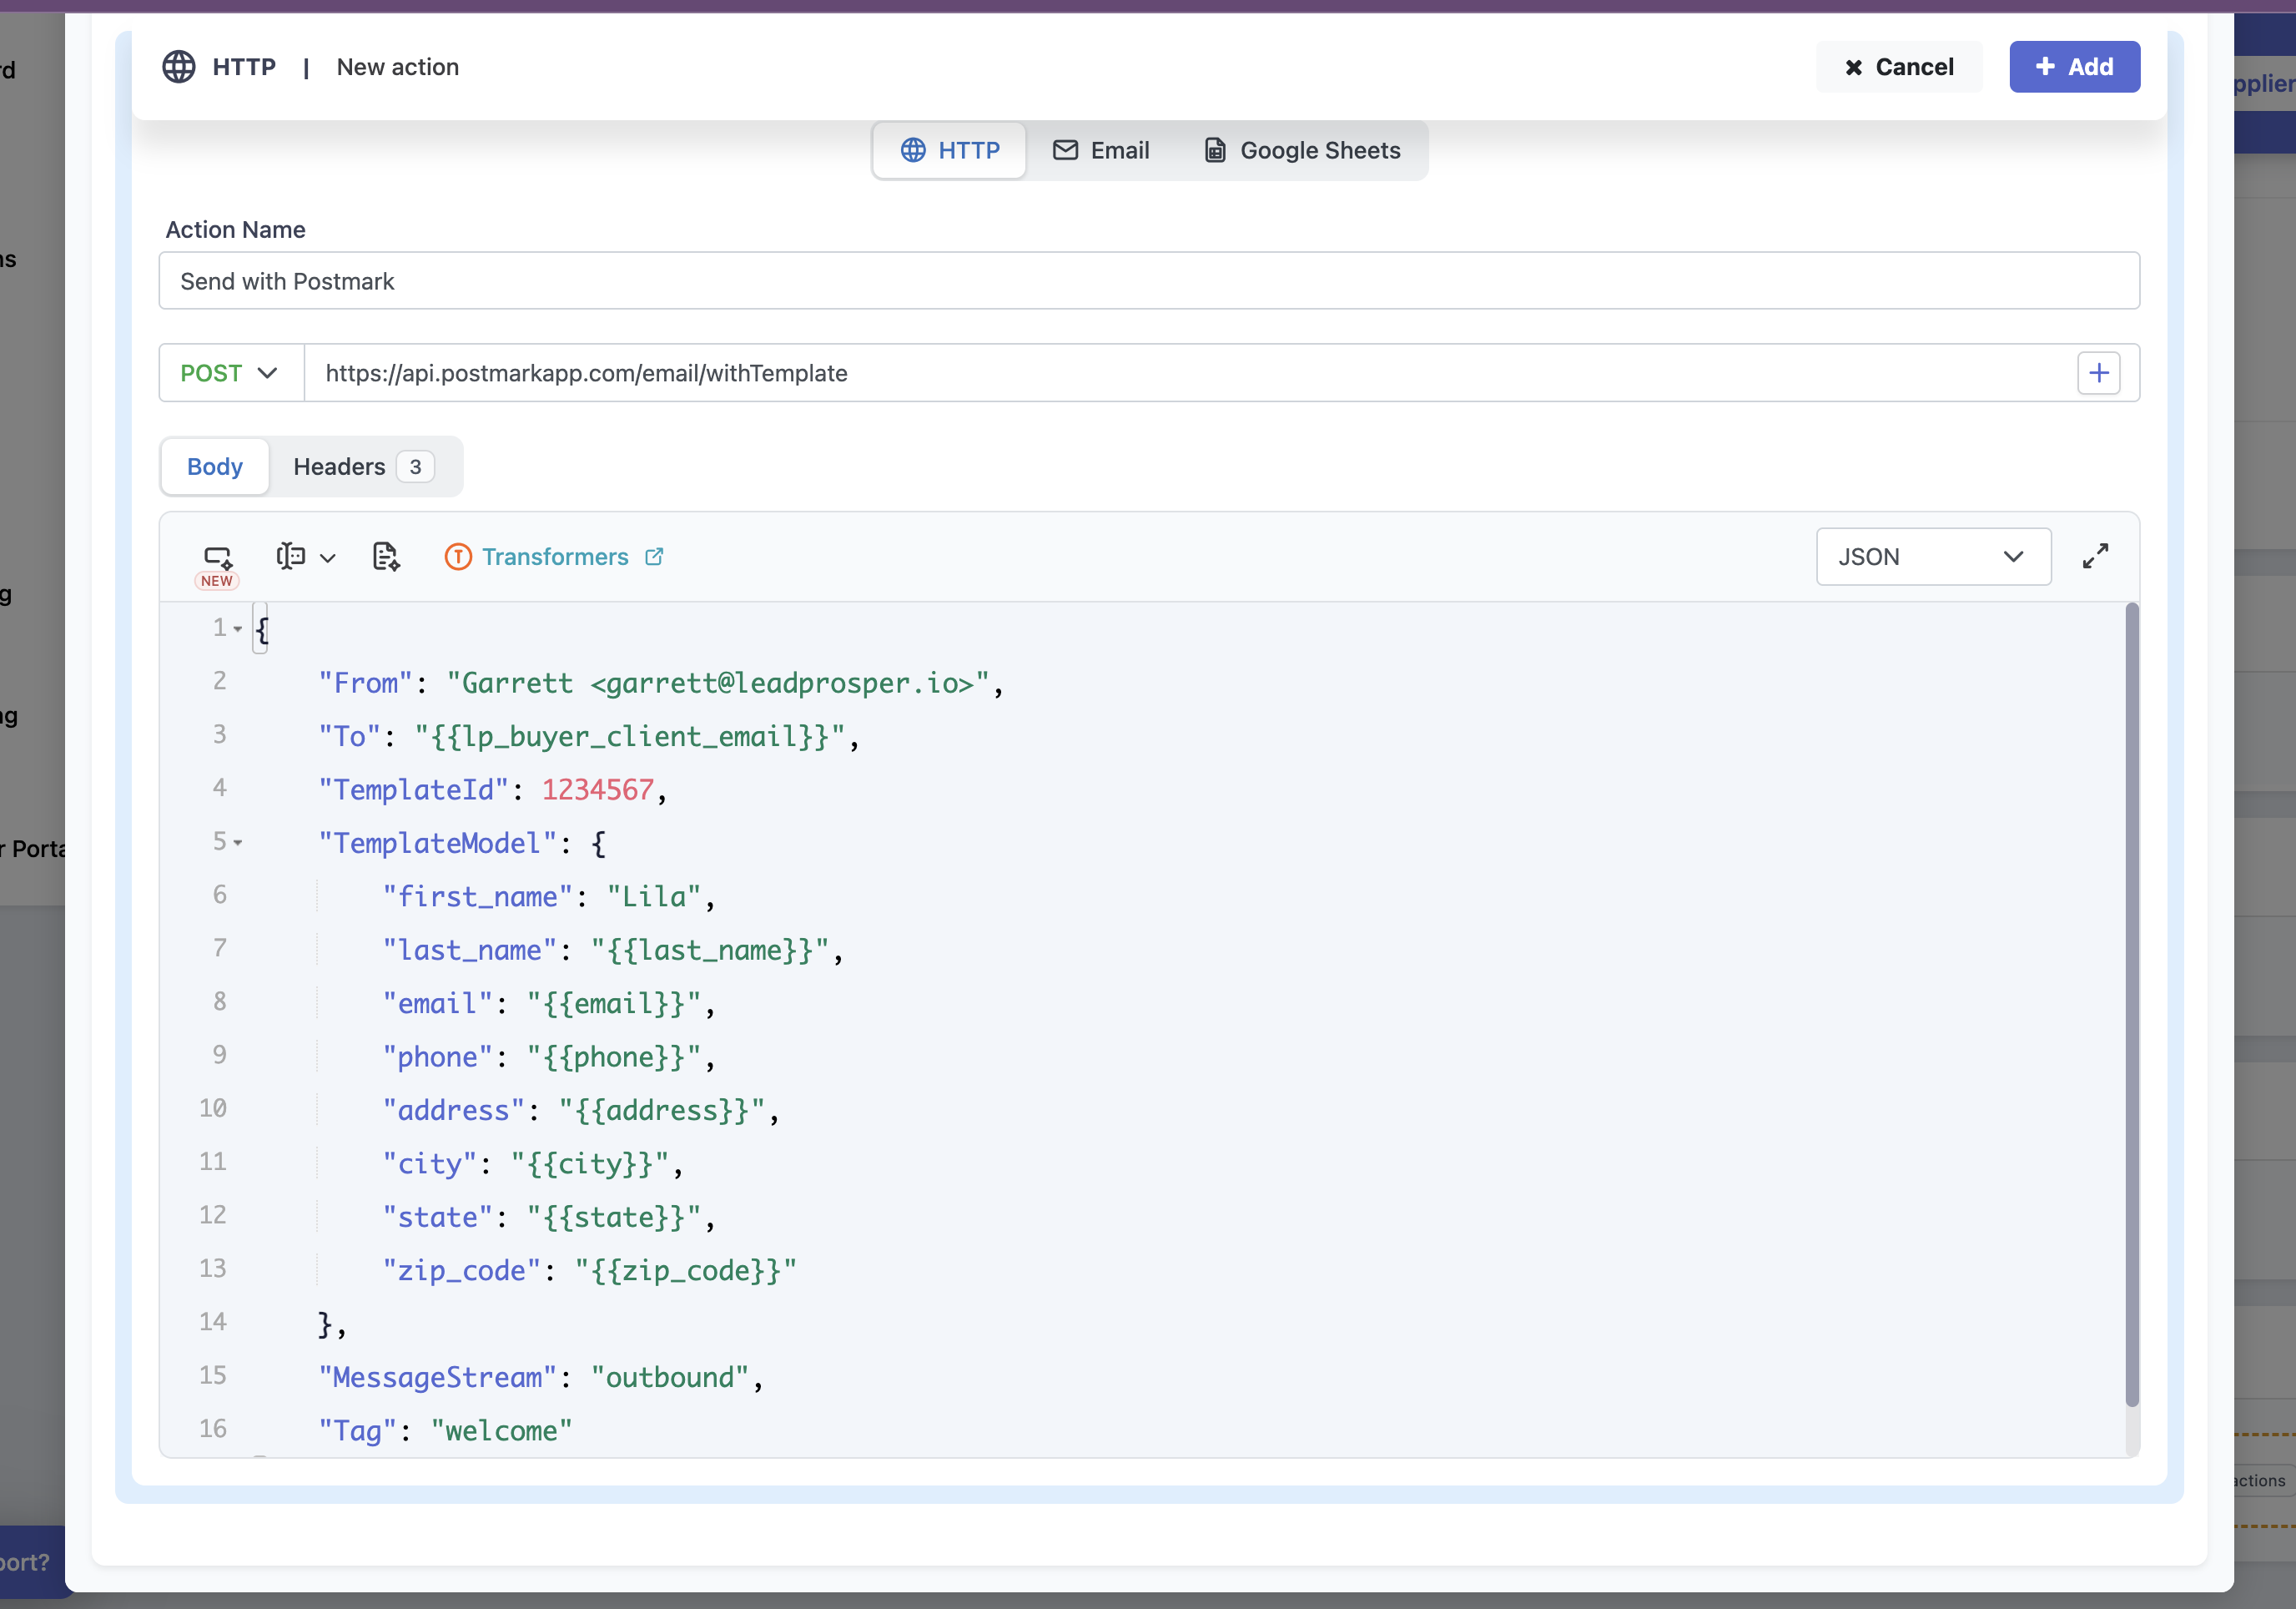
Step 3: Send Email via the Postmark API
We’ll use Postmark’s Template API to send the message.
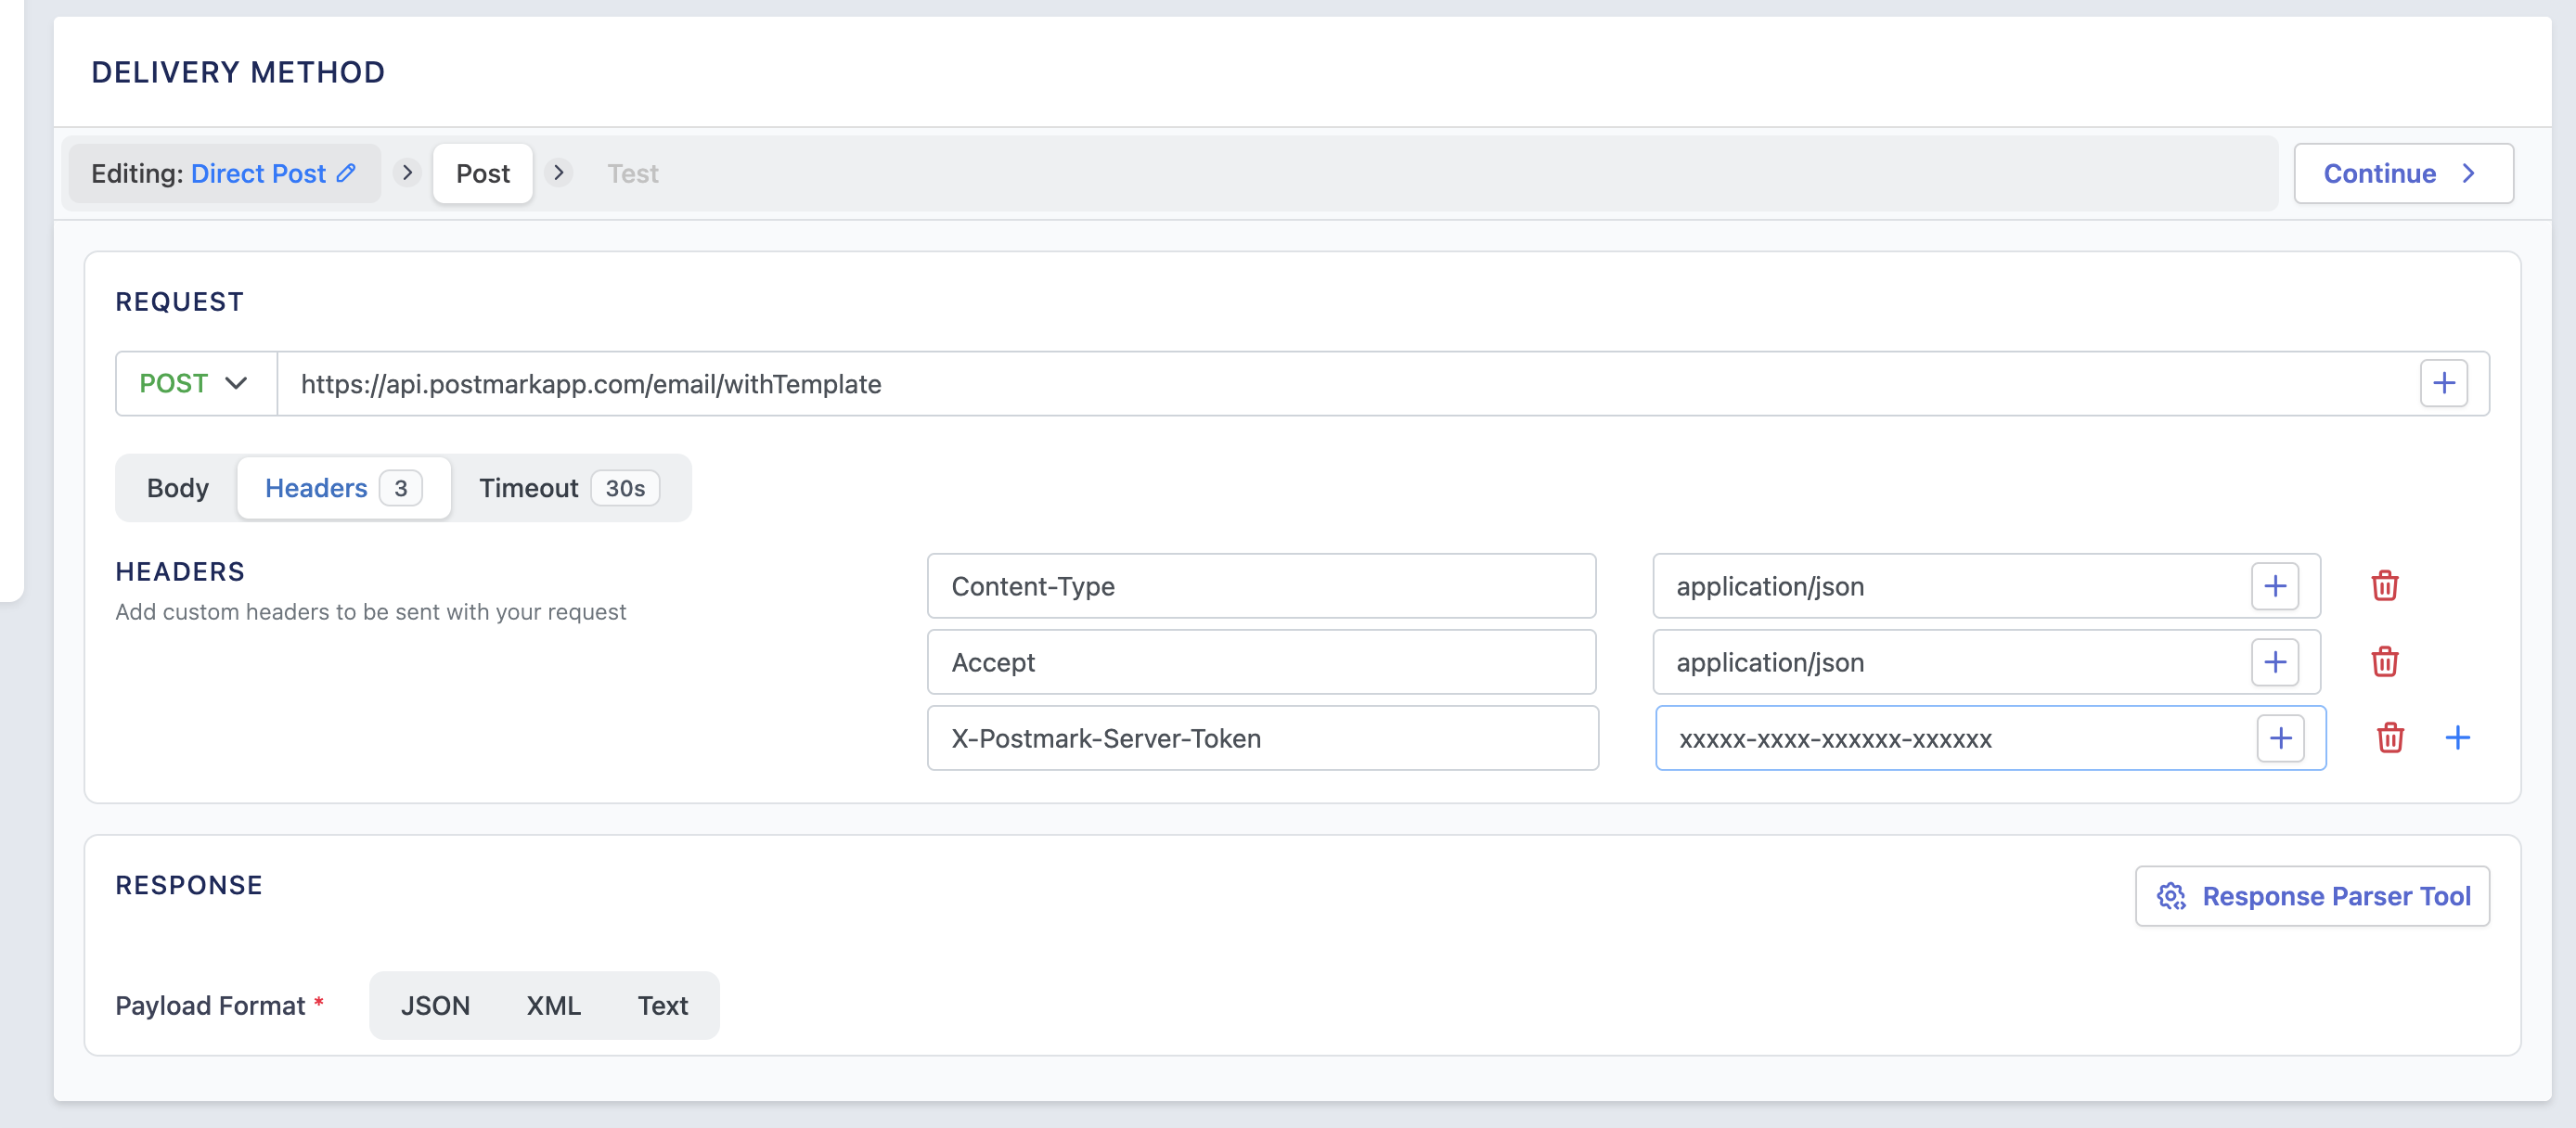
API Details
| Setting | Value |
|---|---|
| Method | POST |
| Endpoint | https://api.postmarkapp.com/email/withTemplate |
Required Headers
| Header | Value |
|---|---|
X-Postmark-Server-Token |
{{YOUR_SERVER_TOKEN}} |
Content-Type |
application/json |
Accept |
application/json |
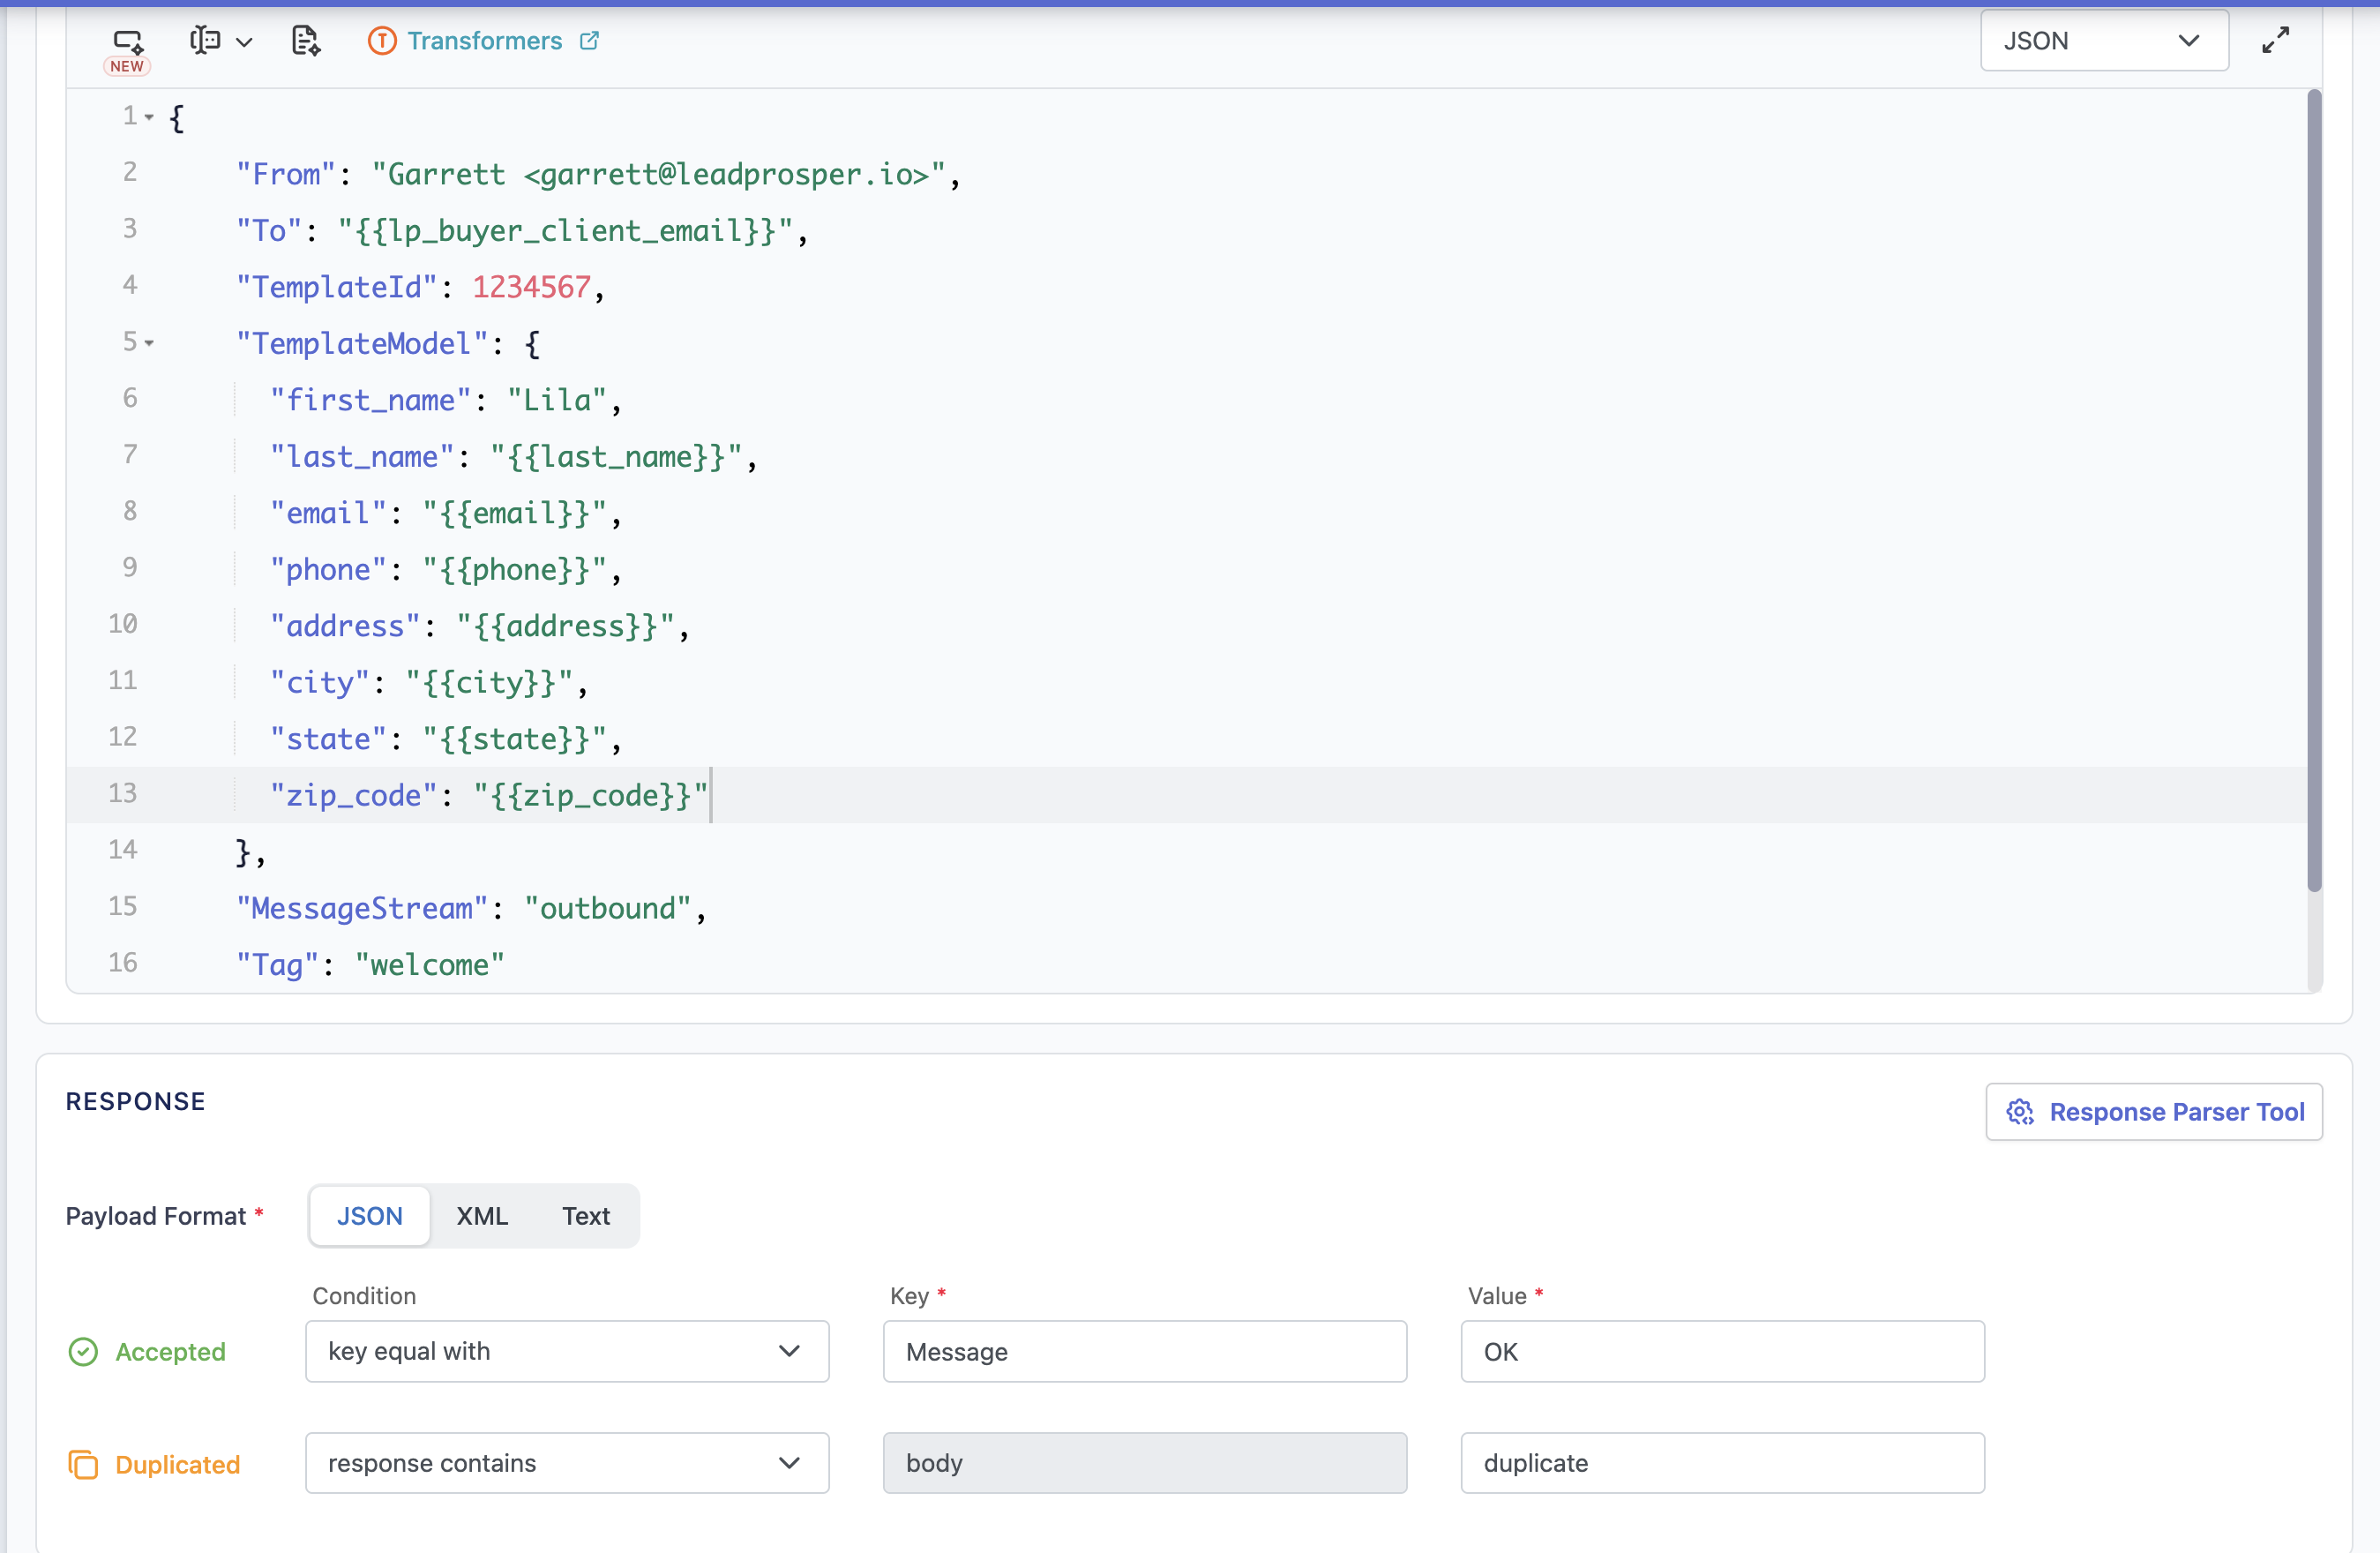
Example JSON Body
{
"From": "Garrett <garrett@leadprosper.io>",
"To": "{{lp_buyer_client_email}}",
"TemplateId": 1234567,
"TemplateModel": {
    "first_name": "{{first_name}}",
    "last_name": "{{last_name}}",
    "email": "{{email}}",
    "phone": "{{phone}}",
    "address": "{{address}}",
    "city": "{{city}}",
    "state": "{{state}}",
    "zip_code": "{{zip_code}}"
},
"MessageStream": "outbound",
"Tag": "welcome"
}
How to Customize It
| Field | What to Do |
|---|---|
| From | Use the sender address you set up in Postmark (no-reply@yourdomain.com ). |
| To | Use your lead’s email field — e.g., {{email}} . |
| TemplateId | Paste your template’s ID from Postmark. |
| TemplateModel | Add key/value pairs that match your Mustachio variables (e.g., {{first_name}} ). |
| MessageStream | Optional — defaults to outbound . |
| Tag | Optional — label your emails (e.g., “welcome”). |
In Lead Prosper you will have ability to set up a Direct Post buyer or a Campaign Trigger to send the emails via Postmark API.
Direct Post Buyer
Headers:
If you are setting up a Direct Post Buyer you will need to include the following Accepted Response Mapping:
| Setting | Value |
|---|---|
| Condition | key equal with |
| Key | Message |
| Value | OK |
Campaign Trigger
Step 5: Test & Verify
- Send a Test Lead (Direct Post Buyer) or Test Action (Campaign Trigger).
- Open your Postmark dashboard → Activity tab → confirm your email was sent.
- Check that all dynamic fields (
{{first_name}}, etc.) populate correctly. - Review any errors in Postmark’s Outbound Stream Logs if needed.
Integrating Postmark with Lead Prosper gives you a seamless way to communicate with your leads instantly and professionally. Whether you’re sending welcome messages, confirmations, or buyer notifications, this setup ensures your emails are delivered reliably and reflect your brand’s quality. Once you’ve tested your first message, you can scale this setup across multiple campaigns — reusing templates, automating follow-ups, and monitoring performance directly from Postmark.
For more details or troubleshooting, explore the resources below:
Additional Resources