Give Your Suppliers Transparent Lead Reporting With Lead Prosper's Supplier Portal
Lead Prosper has launched the Supplier Portal, allow users to provide their Suppliers with the ability to log in and view detailed information and analytics related to the leads they have sent into campaigns.
The Supplier Portal is a secure, self-service dashboard that allows your Suppliers to log in and view detailed lead data and performance analytics for the leads they send into your Lead Prosper campaigns. Suppliers can access lead-level details, campaign performance metrics, reporting, and exports—giving them clear visibility into lead outcomes, acceptance rates, returns, and revenue.
Supplier Portal access is tied to the Client account they are connected to, and a single Supplier email address can be associated with multiple Lead Prosper accounts, allowing Suppliers to use one login to view and manage lead performance across all of their partnerships in one place.
How The Supplier Portal Works
As a Lead Prosper user, you can easily grant Supplier Portal access by adding a Supplier email address to a Client.
When you add a Supplier email:
- An invitation email is sent automatically
- The Supplier can create a new account or log in to an existing one
- Once accepted, the Supplier can log in and view all lead details and analytics for leads sent into all campaigns associated with that Client
Multiple Accounts, One Email
Suppliers often work with multiple Lead Prosper users across many campaigns. To support this, a single email address can be associated with multiple Lead Prosper accounts.
This allows Suppliers to:
- Use one email address
- Log in once
- View all leads and analytics across every Lead Prosper account they’ve been invited to.
How To Add A Supplier To The Portal
To add a Supplier Portal user:
- Log in to your Lead Prosper account
- Select Clients from the left-hand menu
- Locate the Client you want to add a Supplier to
- Click the cog wheel and select Portal Settings
Alternatively:
- Click Edit on the Client
- Navigate to the Supplier Portal Settings tab
- Add the Supplier’s email address there
Once added, an invitation email will be sent to the Supplier.

If a Supplier does not receive the invitation or hasn’t accepted it yet, you have two options:
-
Cancel Invitation
Cancels the pending invite so you can send a new one to a different email address
-
Resend Invitation
Resends the invitation email to the original email address

When a Supplier accepts an invitation, they will be presented with several options:
- Create a new account using the email address the invitation was sent to
-
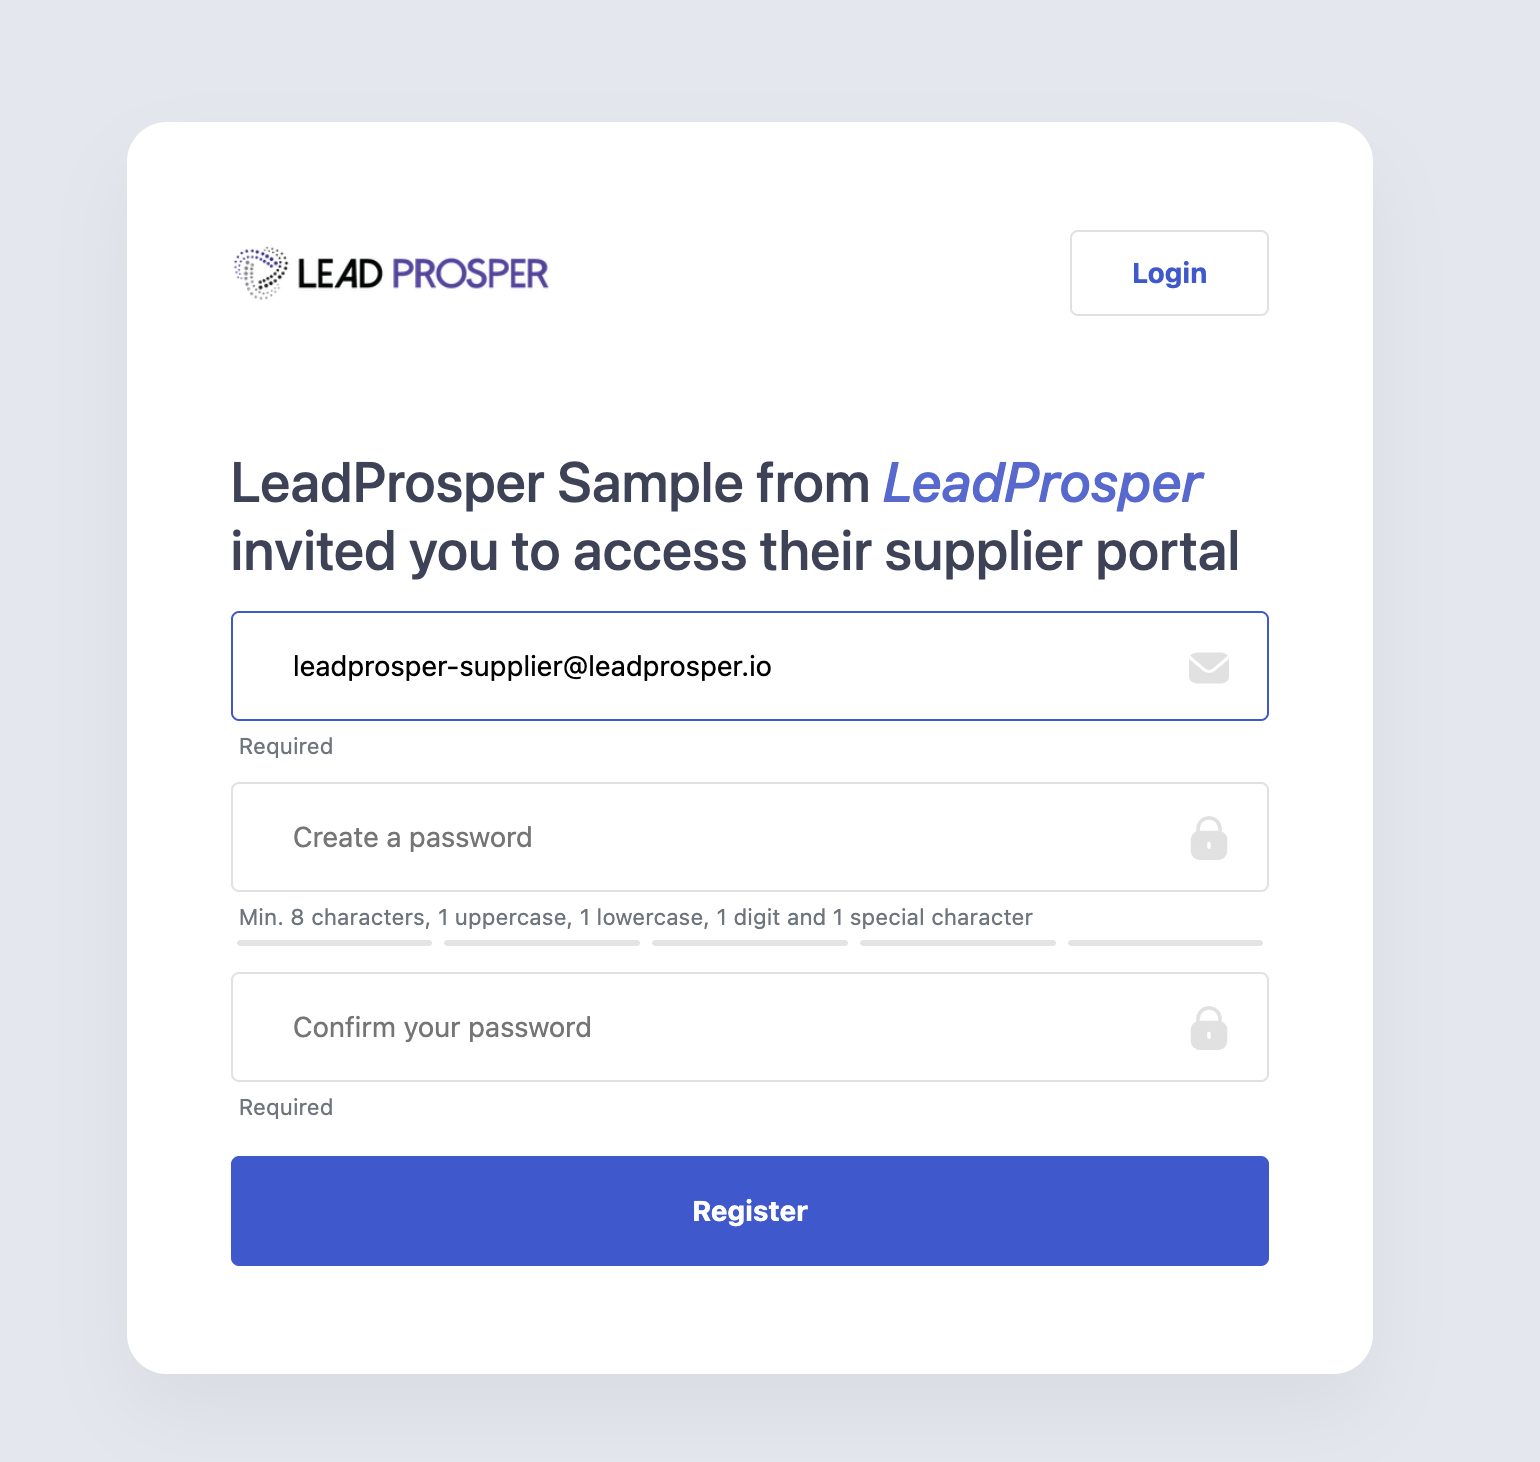
Register the email as a new Supplier Portal account Log in to an existing Supplier account and accept the invitation
If already logged in, choose whether to:
- Accept the invite under the current account
- Log out and create or use a different account
-


Once the invitation is accepted, Supplier Portal access is immediately enabled.
How To Access The Supplier Portal
To access the Supplier Portal visit https://suppliers.leadprosper.io/. Here you will be able to log into your Supplier Portal account.

If you have an account that is linked to multiple Supplier Portals you will be prompted to select which Supplier Portal account you want to view.

When logged in and you want to switch accounts you can simply navigate to the top right corner, pull up the menu and select Switch User. From here you can switch to any other Supplier Portal your account has access to.

Navigating The Supplier Portal
The Supplier Portal is made up of 4 main areas - Dashboard, Leads, Campaigns, and Exports.
Dashboard
The Dashboard is the first screen shown after login. It provides high-level analytics for leads sent into each Lead Prosper campaign over a selected time frame.
Key metrics and data points include:
-
Total Leads
Total number of leads ingested into campaigns during the selected time frame
-
Net Accepted Leads
Leads that were accepted and sold, minus any returned leads
-
Failed Leads
Leads that were ingested but did not sell
-
Duplicate Leads
Leads flagged as duplicates during the selected time frame
-
Returns
Leads that were sold but later returned
-
Net Revenue
Total revenue earned from sold leads, minus returns

Leads
The lead area allows you to view all leads and associated data that have been sent into a campaign.
View Leads By Campaigns
- Select your target Campaign under the Campaign dropdown
- Select your date range, either using a predefined range or you can select custom date ranges. You can also adjust the timezone for the date range.
- Advanced filters allow Suppliers the ability to filter leads based on:
- Test Lead
- All Leads - shows both live and test leads
- Test Leads - only shows test leads
- Non-Test Leads - only shows non-test / live leads
- Returned
- All Leads - shows all leads, including returned leads.
- Returned - only shows leads that have been returned.
- Not Returned - only shows leads that have not been returned.
- Lead Status
- All Statuses - shows all leads: Accepted, Duplicate, or Failed
- Accepted - only shows Accepted leads
- Duplicated - only shows Duplicated leads
- Failed - only shows Failed leads
- Supplier - if you are assigned to multiple Suppliers in the same campaign you can filter by specific Supplier.
- Test Lead

You can use the table view to see all of the lead data in bulk, including Lead ID, Date, Lead Status, Revenue, and all available lead data.
Search For Leads
If you are looking for a specific lead or leads you can use the search bar at the top right to search for a lead based on:
- LP Lead ID
- Email Address
- Phone Number
- TrustedForm Cert URL
- Jornaya LeadiD
View Individual Lead Data
To view the individual lead data all you need to do is click on the lead in question from the list and all of the available lead data will appear in the a pop up. By default the lead pop up will only display the campaign fields that have data associated with them.

Other details that are visible include:
Revenue
- The amount the lead was purchased for.
Returned
- If the lead was returned it will be flagged as such, and the return reason given will be visible as well.
Exporting Leads
To export leads is a fairly simple process. When viewing your list of leads you can select the Export Leads button to the top right of the leads table.
A pop up will appear with a handful of options:
Format
Choose to export your list of leads in either CSV or Excel / XSLX format.
Name
Edit the name of the export.
Description
Optional text field where you can enter details about the export for internal records.
Email Addresses
By default your export will be delivered to the Supplier email address, and you can add up to 3 total email addresses to deliver the export to.

Campaigns
The Campaigns area allows you to see each Campaign your account is linked to, as well as each Supplier with access inside of each of those Campaigns. If you are linked to multiple Suppliers in a single Campaign you will see all of them listed under said Campaign.
From here you can grab the Supplier API Specs for all of your Suppliers. To do so click the API Specs button and your specs will appear in a new tab.

Exports
The exports area allows you to view all exports that have been run on your account and their status. When an export is created a download link is created and that link expires after 7 days. If a link is still valid you can download the export file by selecting the Download button.

The Supplier Portal is designed to provide clear, transparent access to lead data while reducing back-and-forth between you and your Suppliers. By giving Suppliers direct visibility into their lead performance, reporting, and exports—across one or multiple Lead Prosper accounts—you can streamline communication, improve trust, and allow both sides to focus on optimizing campaign performance.
As always if you run into any issues, have any feedback, or any questions in general please feel free to reach out to Support and we'd be more than happy to assist!