Update A Google Sheet In Real Time With Campaign Triggers
You can now send processed leads straight to a Google Sheet using Campaign Triggers — no Zapier or custom scripts needed. With the new Google Sheets delivery option, your leads can automatically update any worksheet once they’ve been processed. Plus, our improved visual field mapping makes it quick and easy to match your lead fields to Google Sheet columns in just a few clicks.
Creating A Google Sheet Campaign Trigger
-
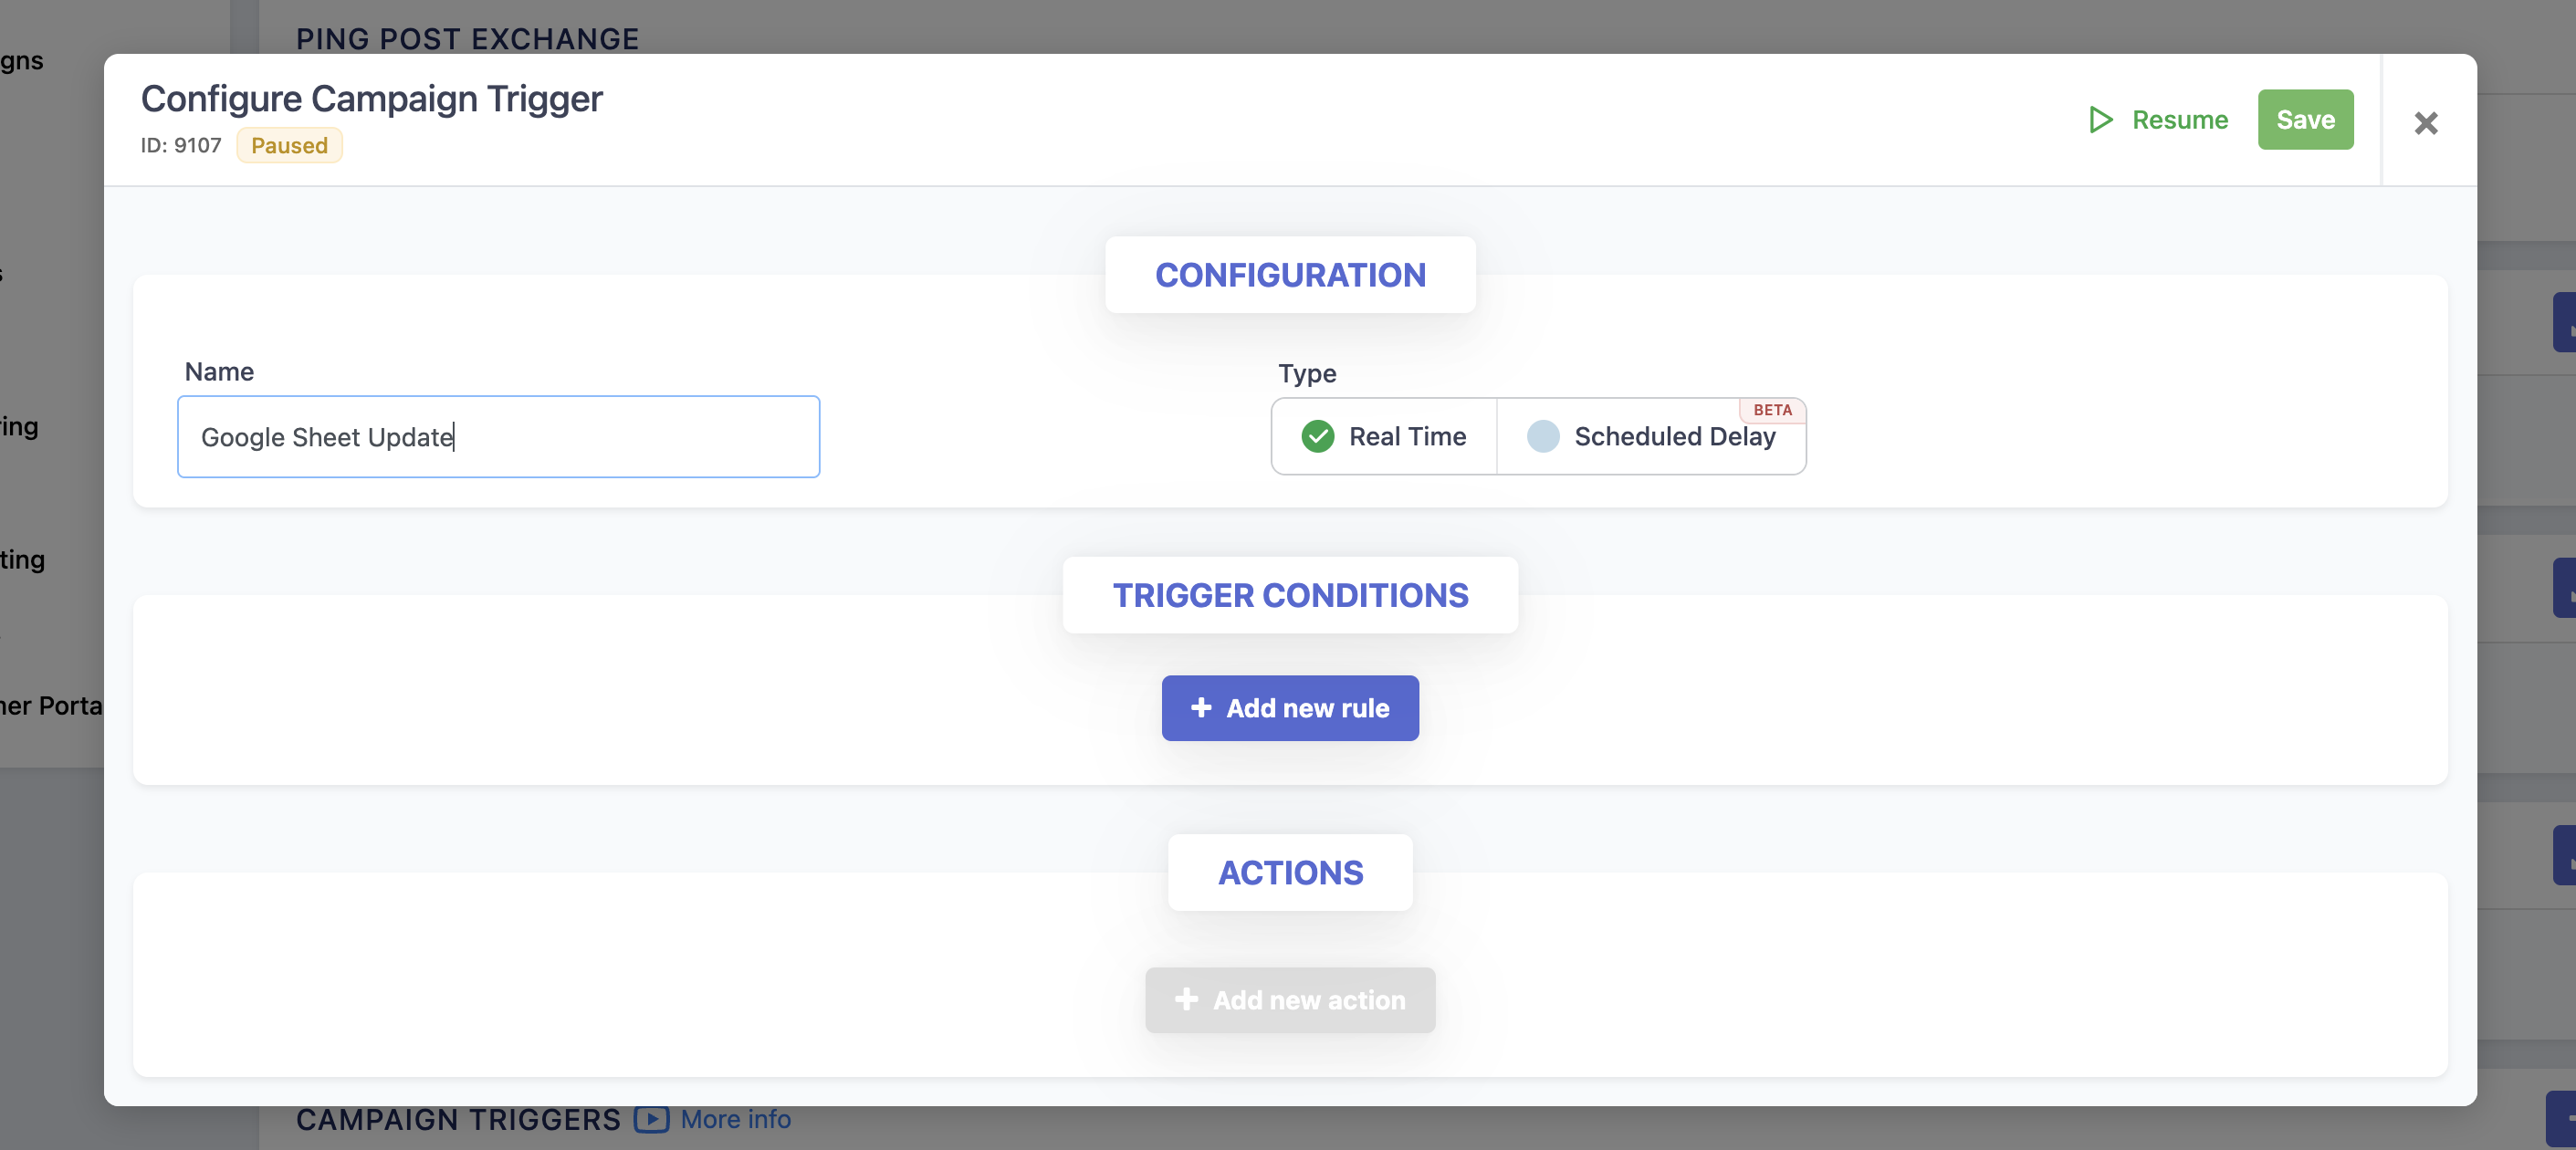
Create a New Campaign Trigger
In your Lead Prosper account, open a campaign and create a new Campaign Trigger.
-
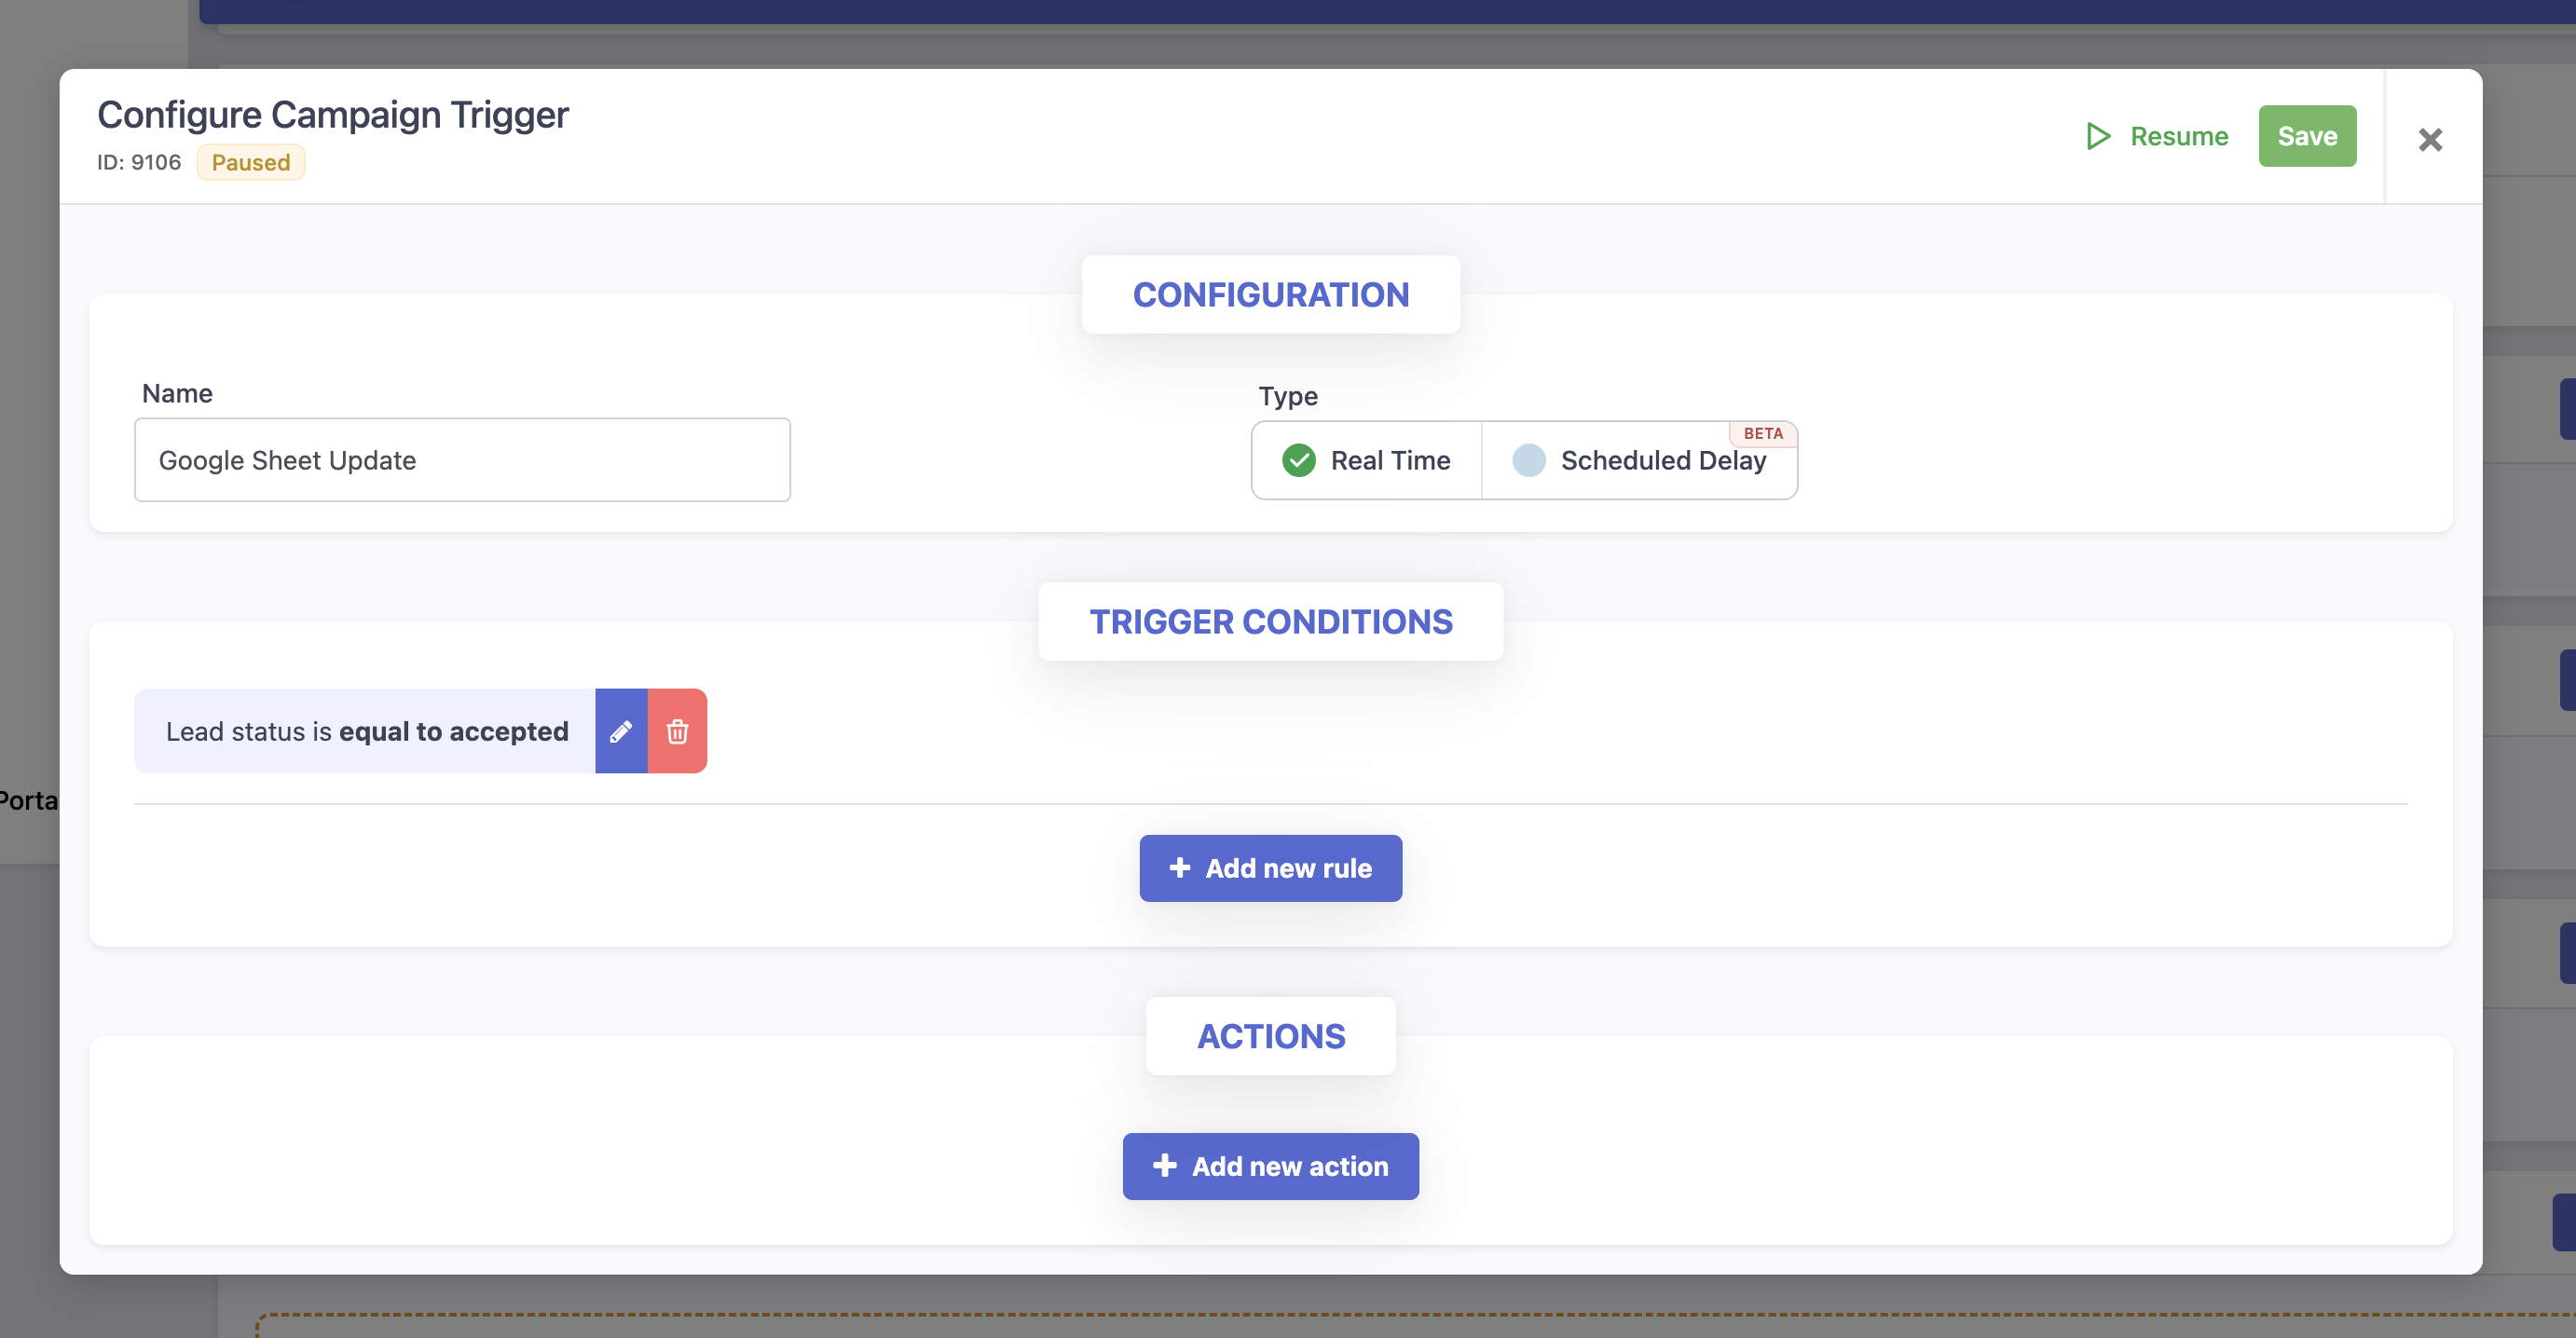
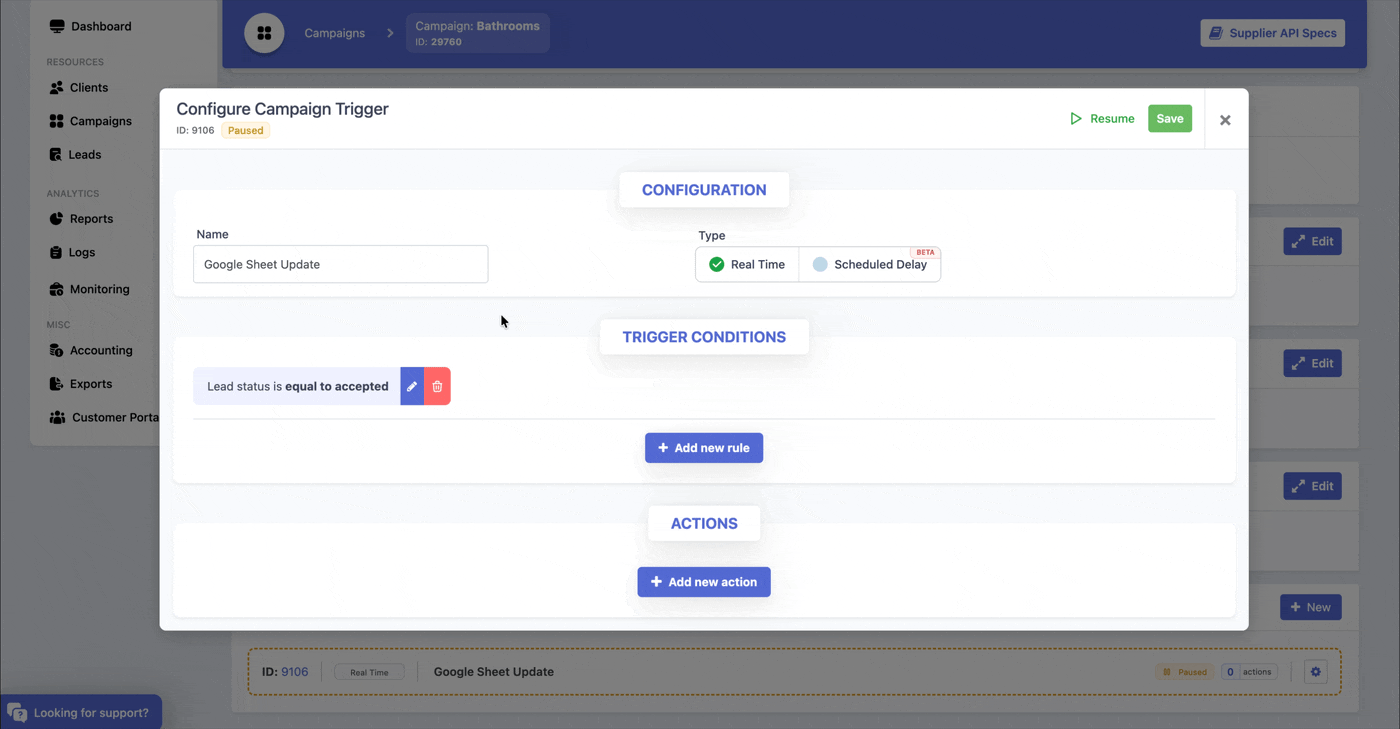
Name Your Trigger & Set Conditions
Give your trigger a clear title (e.g., “Send Leads to Google Sheet”) and add the conditions that should be met before the action runs.
-
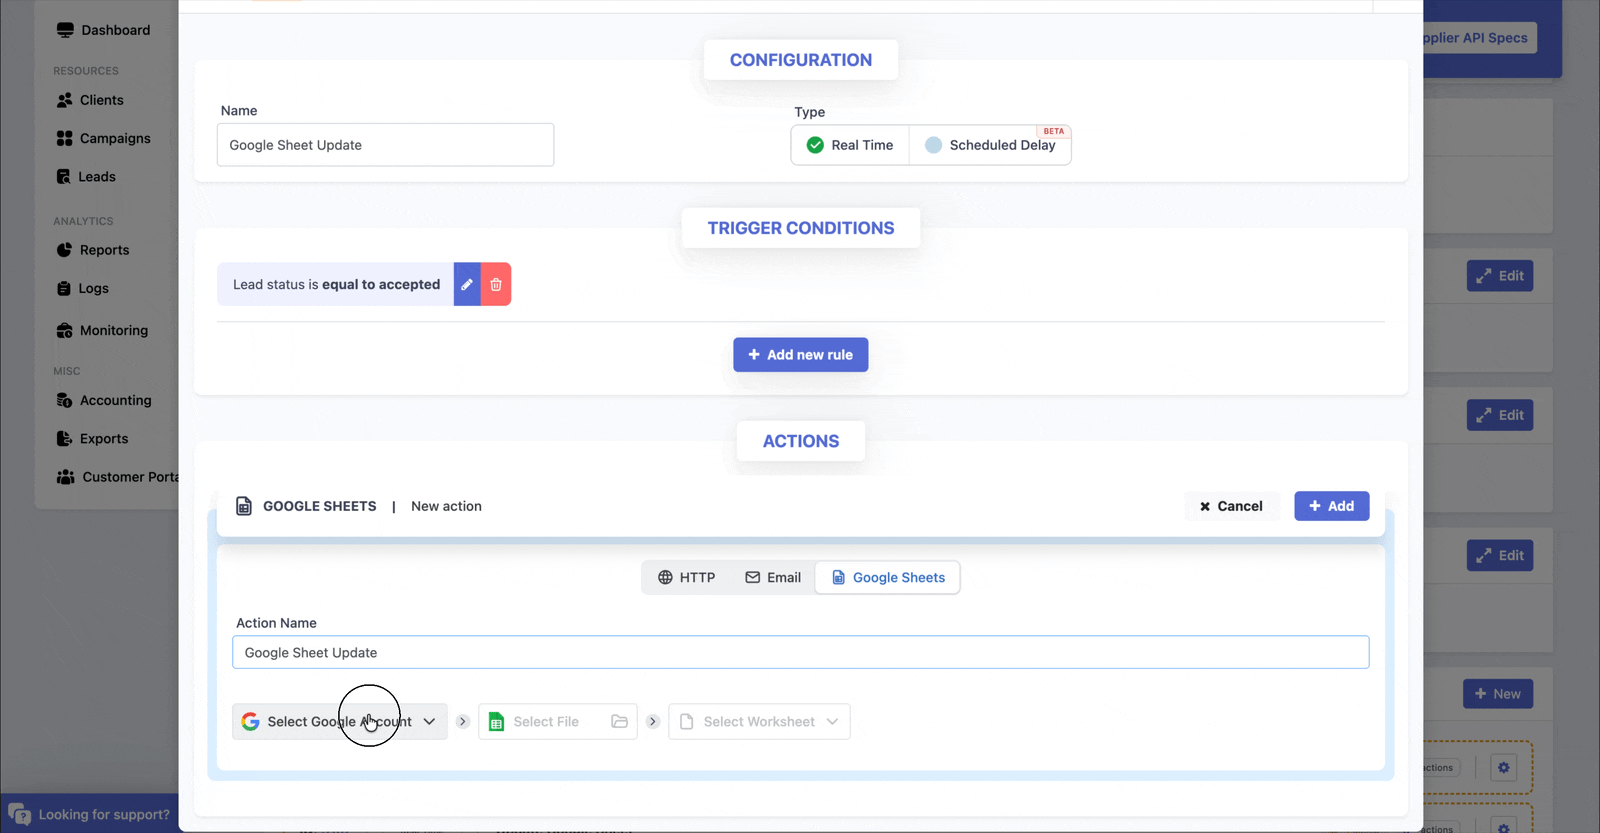
Add a Google Sheets Action
Once your conditions are set, go to Actions > Add New Action, then select Google Sheets from the list of available delivery options.
-
Add an Action Title
Name your Google Sheets action so you can easily identify it later (e.g., “Update Master Lead Sheet”).
- Connect or Select Your Google Account
- If you’ve already connected your Google account, choose it from the dropdown.
-
If not, click Connect Account, select the Google account you want to use, click Next, and grant the requested permissions. Click Save to finish.
-
Select Your Google Sheet
Click Select File to browse your available Google Sheets. Search for the sheet you want to use and select it.


⚠️ Important: You must have editor access to the Google Sheet; otherwise, you may run into permission issues when sending data.

-
Choose the Worksheet
After selecting your sheet, choose the specific worksheet (tab) where the processed leads should appear.
-
Map Your Fields
Lead Prosper will pull in the column headers from your selected worksheet. Use the visual field mapping to connect each campaign or system field to the correct Google Sheet column.
- To insert a static (hardcoded) value, type it directly into the input field.
- If you need to add transformers or computed fields, follow this guide.
When you are done mapping your campaign fields, hit Add.

-
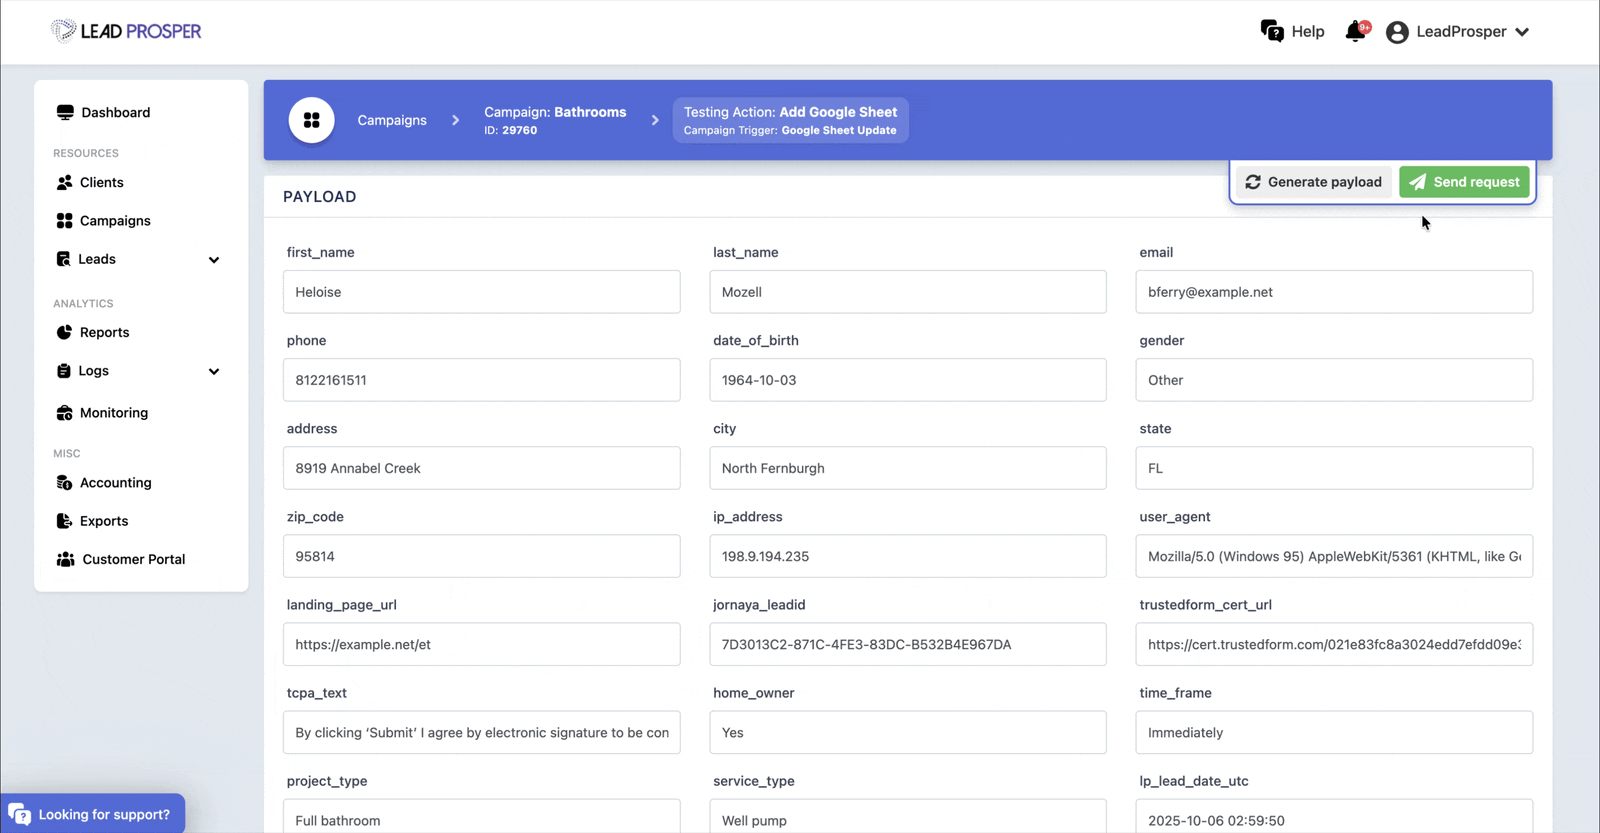
Test Your Setup
Use the Test tool to send sample data to your Google Sheet. Confirm that the test row appears correctly with the right field mappings.

-
Turn Campaign Trigger Live
When you are done testing, simply enable your Campaign Trigger (they are paused when created by default) and you are all set!
What Happens If You Edit Your Google Sheet?
If you update your Google Sheet header, either by adding a new column or updating a header name - you will be notified in your Google Sheet trigger next time you go to edit.

You will be notified which header name(s) have been added, edited, or deleted, and you can make your changes appropriately from there.